
At a glance. Learn where biofilm can develop in drinking lines and how testing, flushing records and an approved cleaning procedure support water management.
Clean-looking water can still be dirty water. Inside every drinker line, a slime layer of bacteria and minerals called biofilm slowly builds along the pipe walls, and it is one of the most consequential problems on a poultry farm precisely because you cannot see it. Biofilm harbours pathogens such as E. coli and Salmonella, clogs nipples, restricts flow, and neutralizes the very vaccines and medications you deliver through the water. Controlling it is not a once-a-year chore but a routine, and the good news is that the routine is well defined by numbers you can measure: free chlorine at 3-5 ppm at the far end of the line, an ORP reading of 700-800 mV, and a pH pushed down toward 5-6 where chlorine actually works.
What Biofilm Is and Why It Matters
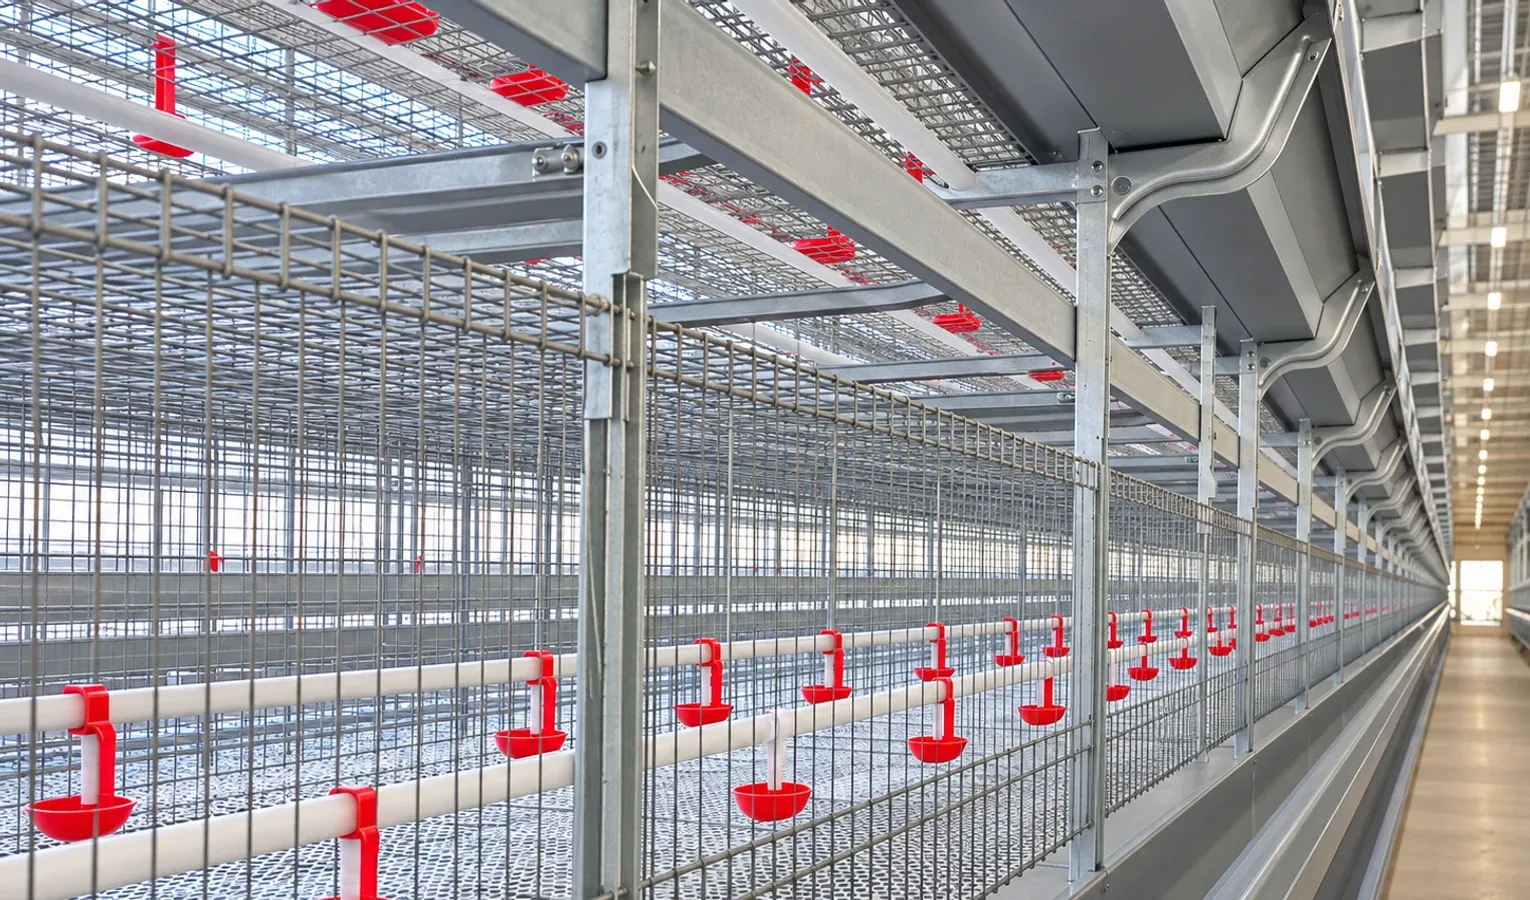
Biofilm is a living slime — a matrix of bacteria bound together with minerals and their own secretions — that coats the inside of water lines. Once established it is remarkably tough, protecting the organisms inside it from sanitizers that would kill free-floating bacteria. Its consequences are all bad:
- Pathogen reservoir — it shelters organisms like E. coli and Salmonella, seeding the water with them continuously.
- Physical clogging — it builds up on nipple mechanisms, restricting or blocking flow so birds drink less.
- Treatment neutralizer — it consumes and inactivates the chlorine, vaccines, and medications you send down the line, so doses never reach the bird at full strength.
Because biofilm forms in the dark, warm, low-flow environment of a water line, every farm has some. The question is only whether you are managing it.
The Free Chlorine Target: 3-5 ppm at the Far End
Sanitizer measured at the tank tells you little; what matters is what survives to the end of the run. Aim for a free chlorine residual of 3-5 ppm at the far end of the line, the point furthest from where you inject. If the far end reads in range, everything upstream is covered. If it reads low, biofilm and organic load are eating your chlorine before it gets there, and you need to shock and clean before routine dosing can hold.
Use ORP to Know the Chlorine Is Working
Chlorine concentration alone does not tell you how effectively the water is being sanitized, because pH and other factors change chlorine's power. Oxidation-reduction potential (ORP), measured in millivolts, captures the actual sanitizing strength of the water.
- Minimum effective band — an ORP of 650-700 mV indicates adequate sanitizing activity.
- Ideal band — 700-800 mV is the target for reliably clean water.
An ORP meter is one of the most useful tools you can put on a water line, because it measures effect rather than just dose. You can have chlorine present and still have poor ORP if the pH is wrong — which brings us to the most important and least understood point.
Why pH Decides Whether Chlorine Works
Chlorine in water exists in two forms, and only one of them is a strong disinfectant: hypochlorous acid (HOCl). The balance between the strong form and the weak form is controlled almost entirely by pH.
- At pH 5-6 — nearly 100% of the chlorine is present as HOCl, the highly active form, so sanitation is at its most effective.
- Above pH 8 — chlorine shifts to the weak hypochlorite form and becomes mostly ineffective, so you can carry a "correct" chlorine reading and still fail to sanitize.
This is why water pH belongs in every sanitation conversation. Adding chlorine to alkaline water without correcting pH is one of the most common wasted efforts on the farm. Acidify toward pH 5-6 and the same dose of chlorine does dramatically more work.
Between-Flock Shock: Stripping Biofilm Out
Routine dosing keeps new biofilm from forming, but it will not remove an established layer. Between flocks, when the house is empty, is the time to strip the lines back to bare pipe. The standard approach is a hydrogen peroxide shock:
- Concentration — run hydrogen peroxide at 1-3% through the lines.
- Contact time — leave it standing in the lines for 24-48 hours to break up and lift the biofilm.
- Flush — then flush thoroughly to carry the dislodged slime and debris out before the next flock arrives.
A between-flock shock is the reset that makes routine maintenance dosing effective. Skip it and you are only ever chlorinating the surface of a slime layer that keeps regrowing.
Flush Hard to Dislodge Debris
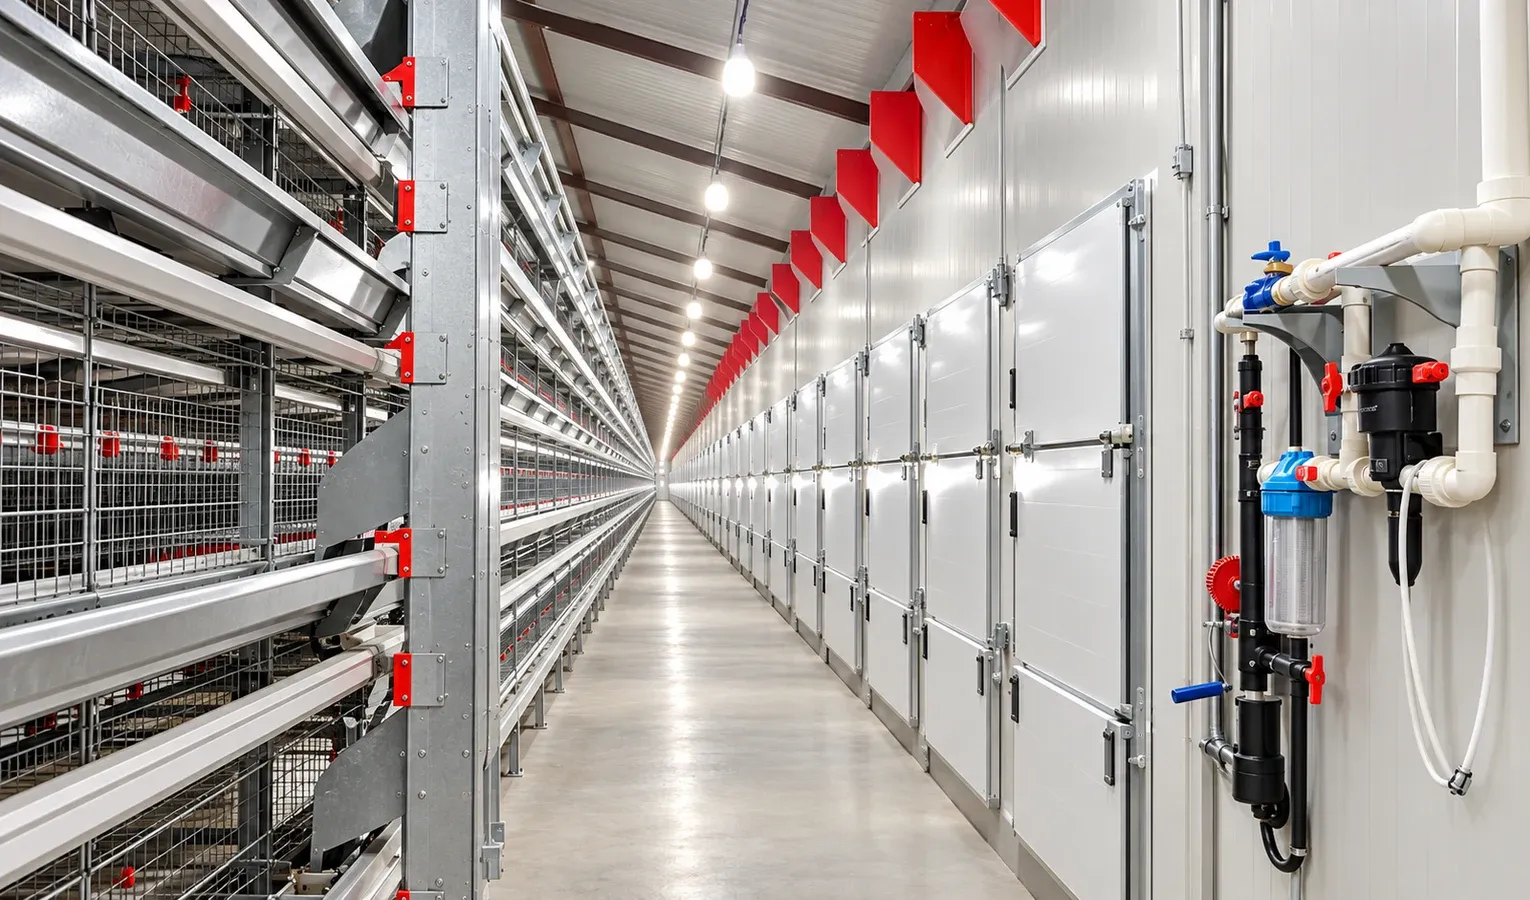
Chemistry loosens biofilm; flow removes it. High-flow flushing — opening the lines and pushing water through at speed — physically dislodges debris and detached slime that chemical treatment has loosened. Flushing at normal drinking flow rates is far less effective, so open the ends and let the lines run hard. Combine a high-flow flush with your shock treatment for the best result, and use flushing routinely to clear sediment before it can anchor new biofilm.
The Vaccine and Medication Rule: Flush Before and After
This is where sanitation and health programs collide, and getting it wrong wastes expensive product. Chlorine inactivates live vaccines — the same oxidizing power that kills bacteria kills the live organisms in a vaccine. So the sanitation program must step aside around water vaccination.
- Turn off the sanitizer — shut off chlorine and other sanitizers for about 48 hours around water vaccination so the vaccine survives the trip down the line.
- Flush before and after — always flush the lines before medicating or vaccinating to clear residual chlorine, and again afterward to clear leftover product.
- Stabilize the water — add 0.1-0.5% skim milk to the water as a stabilizer; the milk proteins neutralize residual chlorine and protect the live vaccine.
Handled correctly, birds receive a full-strength dose. Handled carelessly — vaccine sent down a chlorinated line — and you may be inoculating with a product the water already killed.
Set the Water Column and Regulator Height Correctly
Pressure matters for both delivery and cleaning. The water-column or pressure-regulator height should match the birds' stage, both so they can drink easily and so the line holds enough pressure to flush effectively.
- Brooding — set the water column around 10-20 cm for young chicks.
- Lay — raise it to about 20-30 cm for adult birds.
Correct pressure keeps flow steady at the nipple and gives you the head needed for an effective high-flow flush when it is time to clean.
Signs Biofilm Is Winning
You will rarely see biofilm directly, but the flock and the equipment give it away. Learning to read these signals lets you act before the problem reaches the birds in force.
- Falling far-end chlorine — if you have to keep raising the dose to hold 3-5 ppm at the end of the line, organic load and biofilm are consuming it upstream.
- Slow or blocked nipples — drippy, sticky, or clogged nipples often mean slime and mineral scale have built up on the mechanisms.
- Slipping ORP — a reading that drifts below the 650-700 mV floor despite normal chlorine dosing points to demand from an established biofilm.
Any one of these is a prompt to plan a shock-and-flush rather than simply adding more sanitizer to water that is already fighting a losing battle.
Weekly Maintenance Versus Terminal Clean-Out
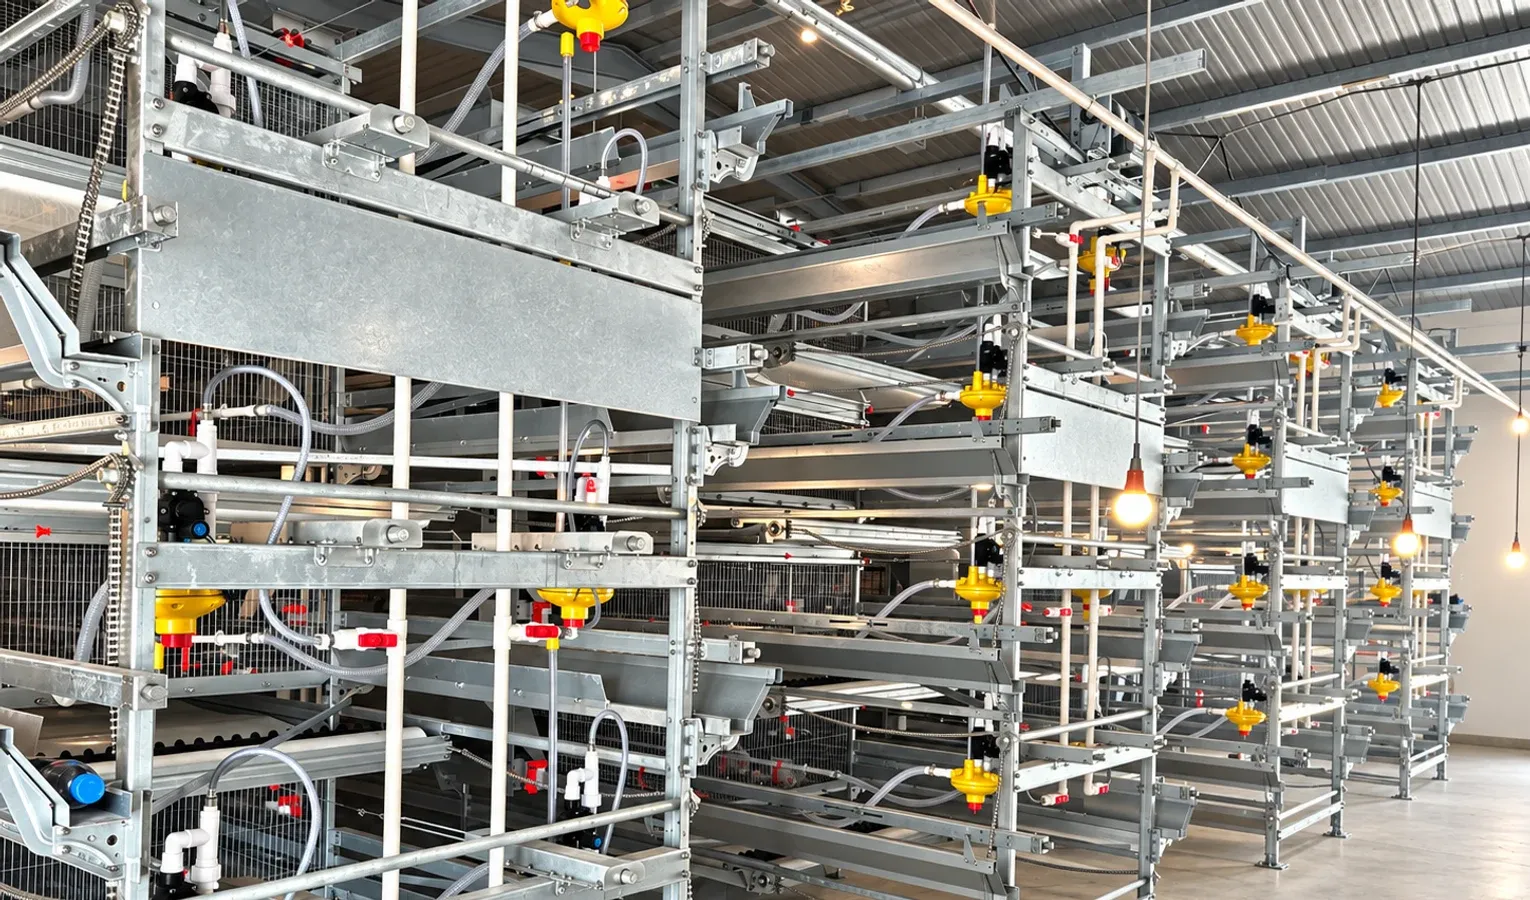
Think of sanitation as two distinct jobs on two timelines. The weekly maintenance dose keeps the water sanitized and slows new biofilm while birds are present, holding that 3-5 ppm far-end chlorine and 700-800 mV ORP. The terminal clean-out, done between flocks, is the aggressive 1-3% peroxide shock with a 24-48 hour soak that removes accumulated biofilm entirely. Both are necessary. Relying on weekly dosing alone lets biofilm slowly win; relying on between-flock cleaning alone leaves birds drinking degrading water for weeks. Run both and the lines stay genuinely clean.
A Sanitation Routine You Can Run
Pulling it together into a workable rhythm:
- Daily to weekly — maintain free chlorine at 3-5 ppm at the far end, verify ORP at 700-800 mV, and keep pH near 5-6 so chlorine stays as active HOCl.
- Around vaccination — flush before and after, turn the sanitizer off for 48 hours, and add 0.1-0.5% skim milk as a stabilizer.
- Between flocks — shock with 1-3% hydrogen peroxide, soak 24-48 hours, then high-flow flush.
- Always — set water-column height to 10-20 cm in brooding and 20-30 cm in lay, and flush hard to move debris.
The Payoff of Clean Lines
Biofilm control is invisible work with visible results. Clean lines mean nipples that flow freely, water that carries its sanitizer to the last drinker, vaccines and medications that reach birds at full strength, and one fewer hidden reservoir of E. coli and Salmonella in the house. The numbers make it manageable: measure the far-end chlorine, watch the ORP, mind the pH, and honour the between-flock shock.
If you are looking at nipple lines, regulators, or flushing systems built to stay clean and hold pressure, explore our watering equipment or talk with our team about a setup suited to your water and flock. To understand the raw water going into these lines, read our related guide on water quality standards and daily intake.
Visual checklist
Related reading
Poultry Water Quality: Testing and Intake Records
Poultry Drinking Lines: Supply, Access and Cleaning
Further reading
Disease prevention and treatment must be adapted to the flock and local requirements. Confirm medicines, vaccines and disinfectant procedures with the responsible veterinarian and the approved product instructions.