At a glance. Inspect drinker access, line height, pressure and water delivery across poultry-house rows, using the equipment and flock management instructions.
Water is the cheapest input in the house and the one that limits everything else. A bird that drinks freely eats freely and grows or lays to potential; a bird fighting a stiff nipple, a dry line, or a drinker set too high quietly falls behind. Getting a nipple drinking system right is not complicated, but it lives or dies on a handful of numbers: flow rate that climbs with age, supply pressure held around 0.18-0.22 MPa, spacing near 25-30 cm, and a nipple height that keeps every bird reaching slightly upward. Set those correctly on day one and adjust them as the flock grows, and you remove one of the most common invisible brakes on performance.
Why Nipple Drinkers Beat Open Water
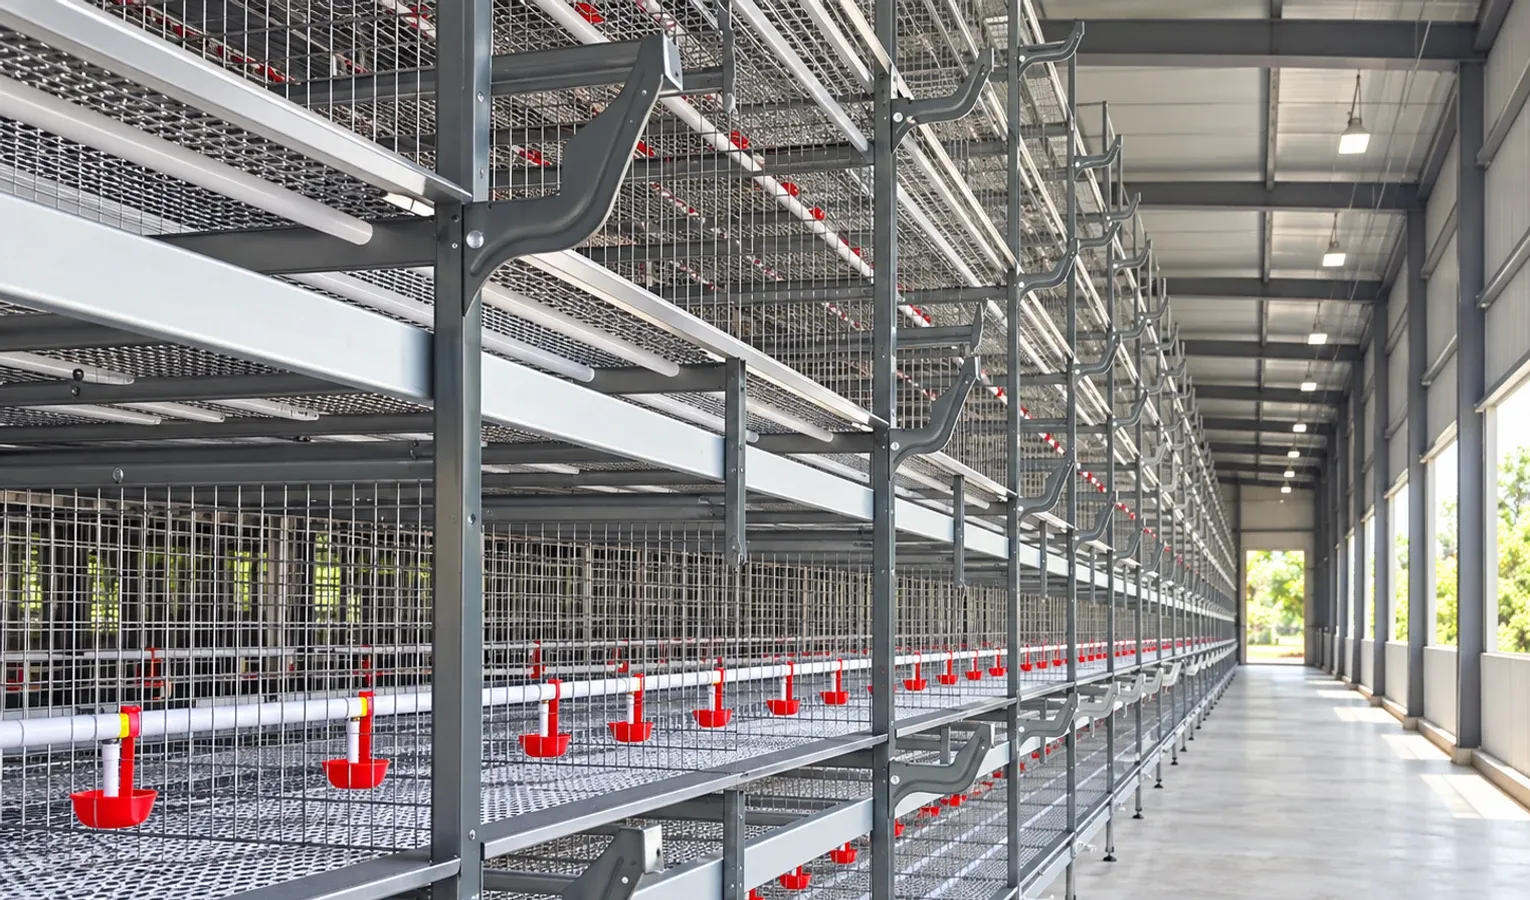
Closed nipple systems replaced bell drinkers and open troughs for good reasons. Water never sits exposed, so it stays cleaner, cooler, and far less likely to spread disease between birds.
- Closed lines cut contamination, because droppings, feed, and dust cannot fall into the water column.
- Less spillage means drier litter, fewer footpad lesions, and lower ammonia.
- Predictable flow lets you meter exactly how much water each bird can pull, which is impossible with open drinkers.
The trade-off is that a closed system only works when it is tuned. An open drinker forgives sloppy setup; a nipple line does not.
The Flow-Rate Rule That Scales With Age
The single most useful number is target flow rate, and it climbs with the bird. A practical rule of thumb is flow in ml/min equal to (age in weeks x 7) + 20. That puts a day-old chick at roughly 40 ml/min and a bird at 29-35 days near 90 ml/min.
- At 0-7 days, aim for about 40 ml/min so tiny chicks get a satisfying drop without being overwhelmed.
- By 3-4 weeks, flow should reach 60-80 ml/min to match rising intake.
- By 29-35 days, ~90 ml/min keeps fast-growing birds from queuing at the line.
Measure flow by triggering a nipple into a graduated cylinder for a timed interval, checking several nipples along the line and at both ends. Ends drift most, so verify them.
Supply Pressure and How to Regulate It Down
The main supply should deliver water at roughly 0.18-0.22 MPa, but the pressure the bird actually feels at the nipple is much lower and is set by a regulator and header height at the line. You raise or lower the water column to trim delivery pressure without touching the main.
- Keep the header/regulator water column near 10-20 cm during brooding for a soft, low-pressure drink.
- Raise it to 20-30 cm for grown layers or heavier birds that need more flow.
- Adjust the regulator when flow drifts off target rather than cranking the main supply, which only creates leaks.
Think of the main line as the reservoir and the line regulator as the fine control. All day-to-day tuning happens at the regulator.
Stocking and Spacing at the Line
Too many birds per nipple creates competition, and competition creates uneven flocks. Plan the line layout to the numbers, not to whatever the house came with.
- Allow 9-12 birds per nipple so no bird waits long for a turn.
- Space nipples 25-30 cm apart along the line.
- Position lines so every bird is within a short walk of water, typically no more than a couple of meters.
If a flock is uneven or timid, err toward the lower end of the bird-per-nipple range. Extra access points cost little and pay back in uniformity.
Setting Nipple Height by Bird Posture
Height is where most setups go wrong. The bird should reach slightly upward to drink, never crane down or jump. Watch the head and neck angle, not a tape measure alone.
- For young chicks, set the trigger pin roughly at eye level so they find and work it easily.
- As birds grow, raise the line so the drinking head angle moves from about 45 degrees early toward 75-85 degrees in mature birds — back near horizontal, eye tilted up.
- A good check: a bird drinking should have its feet flat and its neck extended up, not compressed down.
Too low and birds play with the nipple and wet the litter; too high and smaller birds simply drink less than they need.
Raising the Line as the Flock Grows
Growth is continuous, so height adjustment should be too. A line set perfectly for week one is wrong by week three.
- Plan to raise the line about 1 cm per day as a starting cadence, then fine-tune by watching posture.
- Walk the house daily and adjust to the average bird, checking the smallest birds can still reach comfortably.
- After each raise, re-check flow and the header column, since geometry changes shift delivery slightly.
The goal is that at every age the flock drinks with the same upward reach, even though the absolute height keeps climbing.
Starting Chicks the Right Way
The brooding period has its own settings because chicks are small, weak, and learning. Start with lines low and water easy to draw.
- Begin with lower lines so chicks reach the nipple without stretching.
- Run higher flow and lower pressure early so a light peck releases a visible drop.
- Keep the header column at the low end, around 10-20 cm, for a gentle brooding pressure.
For the first days, the priority is teaching location and rewarding the peck. Once every chick knows where water is and is drinking, you begin the daily height and pressure progression toward grow-out targets.
360-Degree Versus Side-Mount Nipples
Nipples come in two broad styles, and the choice affects how birds approach the line.
- 360-degree nipples trigger from any direction, which suits chicks and lets birds drink from either side of a central line.
- Side-mount (side-trigger) nipples activate from below and to the side, often paired with a catch cup to trap stray drops.
- Match the nipple to your line layout and bird age; many houses use 360-degree units for brooding and switch philosophy for grow-out based on litter and flow needs.
Whichever style you run, verify actual flow on the installed nipples rather than trusting the catalog figure.
Chasing Leaks and Wet Litter
A wet patch under the line is a signal, not a nuisance to mop up. Track down the cause.
- Leaks show as consistently wet litter directly beneath specific nipples and usually mean a stuck pin, debris, or pressure set too high.
- Lower the header column or clear the nipple before assuming the part is faulty.
- Persistent wet spots raise ammonia and footpad problems, so treat them as urgent.
Dry litter under the line is the sign of a correctly pressured, correctly heighted system.
Clogs, Biofilm, and Water Quality
The enemy inside the line is buildup. Iron, minerals, and biofilm narrow the passage and choke flow, often at the far end first.
- Iron and mineral scale slowly reduce flow and can seize the trigger pin.
- Biofilm feeds on any residue and shelters bacteria, so it is both a flow and a hygiene problem.
- Test source water and treat or filter as needed; a system is only as clean as the water you feed it.
If flow drops without a pressure change, suspect a clog before anything else and inspect the worst-affected nipples.
Flushing Lines and Clearing Air Locks
Standing water warms, stales, and traps air. Flushing is the routine that keeps the whole system honest.
- Flush lines daily to push out warm, stale water and pull fresh, cooler water through.
- Flushing also clears air locks that block flow and starve nipples downstream.
- In hot weather, more frequent flushing keeps drinking water cool enough that birds keep drinking.
A daily flush costs a few minutes and a little water, and it protects intake, temperature, and hygiene all at once.
Bringing the Numbers Together
A well-run nipple system is really just a few numbers held in balance as the flock ages: flow climbing on the (age in weeks x 7) + 20 curve, supply near 0.18-0.22 MPa trimmed by a 10-30 cm header column, 9-12 birds sharing each nipple at 25-30 cm spacing, and a line raised roughly 1 cm per day to keep every bird reaching gently upward. None of it is hard, but all of it needs checking, because birds change daily and lines drift.
If you are planning a new house or upgrading an aging line, our team can walk you through drinker layout, nipple choice, and regulator setup for your bird type and climate. Explore our watering equipment or reach out to talk through what fits your flock, and pair this with our guides on brooding and litter management for the full picture.
Visual checklist
Related reading
Poultry Drinking Lines: Supply, Access and Cleaning
Poultry Water Quality: Testing and Intake Records
Further reading
Use the management guide for the actual breed, age and housing system when selecting flock targets. Review changes with the farm team and the relevant nutrition, health or equipment specialist.