At a glance. Review photoperiod, light distribution and transfer between houses when planning a layer lighting programme against the breeder's recommendations.
Of everything you control in a layer house - feed, temperature, water, ventilation - light is the one that decides whether the flock lays at all, and when. It is the master switch for egg production. A well-built lighting program brings pullets into lay on schedule, drives them to a strong peak, and holds production through a long cycle. A careless one delays maturity, crashes peak, or triggers a mid-lay slump you can never fully recover. This guide walks through the complete program, stage by stage, with the hours, the light intensity, and the rules that make it work.
How day length controls egg laying
A hen reads day length as the signal of season. Light entering the eye - and, in birds, directly through the skull to receptors in the brain - regulates the hormones that switch reproduction on and off. Increasing day length tells the hen it is spring, the safe time to lay, and stimulates egg production. Decreasing day length signals the opposite and shuts laying down. Everything in a lighting program is built on that one fact.
Two rules follow, and they are absolute. Never lengthen the day during the rearing period, or pullets mature too early and lay small eggs before their frames are ready. And never shorten the day during the laying period, or you will drop production and may not get it back. Almost every lighting mistake in the field is a version of breaking one of these two rules.
Stage 1 - Brooding (0 to 6 weeks): bright and long
Newly hatched chicks cannot find feed and water in the dark, and early intake sets the whole growth curve. Start brooding at 18 to 20 hours of light per day at a bright 40 to 50 lux, so chicks are active, eat well and build the body weight that supports later production. Over the first weeks, step the day length down gradually toward the rearing target - never in one jump.
Warm-toned light works best here; chicks are more active under it, and activity in the first week is what fills the crop and starts growth on time.
Stage 2 - Rearing (7 to 18 weeks): short and steady
This is the stage most farms get wrong. During rearing you want the pullet to grow her frame without being triggered into lay too soon. Hold a short, constant day length of about 8 to 10 hours, and drop the intensity to 10 to 15 lux to keep birds calm and reduce feather pecking.
Keeping the day short does two things: it delays sexual maturity until the body is heavy enough, and it prevents the run of small first eggs (and the prolapse risk) that comes from pullets laying before they are ready. The classic error is letting rearing-house light creep up - through longer natural daylight or added hours - which brings the flock into lay underweight. If your rearing house uses natural light, this is exactly why controlled, light-tight housing matters.
Stage 3 - Onset of lay (around 18 to 19 weeks): the stimulation
Once pullets hit target body weight - usually around 18 to 19 weeks - you deliberately increase day length to stimulate laying. This is the "photostimulation" that switches reproduction on. The first increase is typically about one hour, and the timing is judged on body weight, not just age: stimulating an underweight flock produces small eggs and a weak peak. Get the flock to weight first, then turn the light up.
Stage 4 - Peak and full production (19 weeks onward): build to 16 hours
From onset, build day length up to and hold about 16 hours of light per day - the length that supports peak laying - at 20 to 30 lux. A healthy flock reaches a peak of 90 to 96% lay at around 25 to 30 weeks, then declines slowly over the rest of the cycle. Your job through peak and beyond is to hold the 16-hour day rock steady. From the first day of lay to depletion, the day length only ever holds or lengthens - it must never shorten.
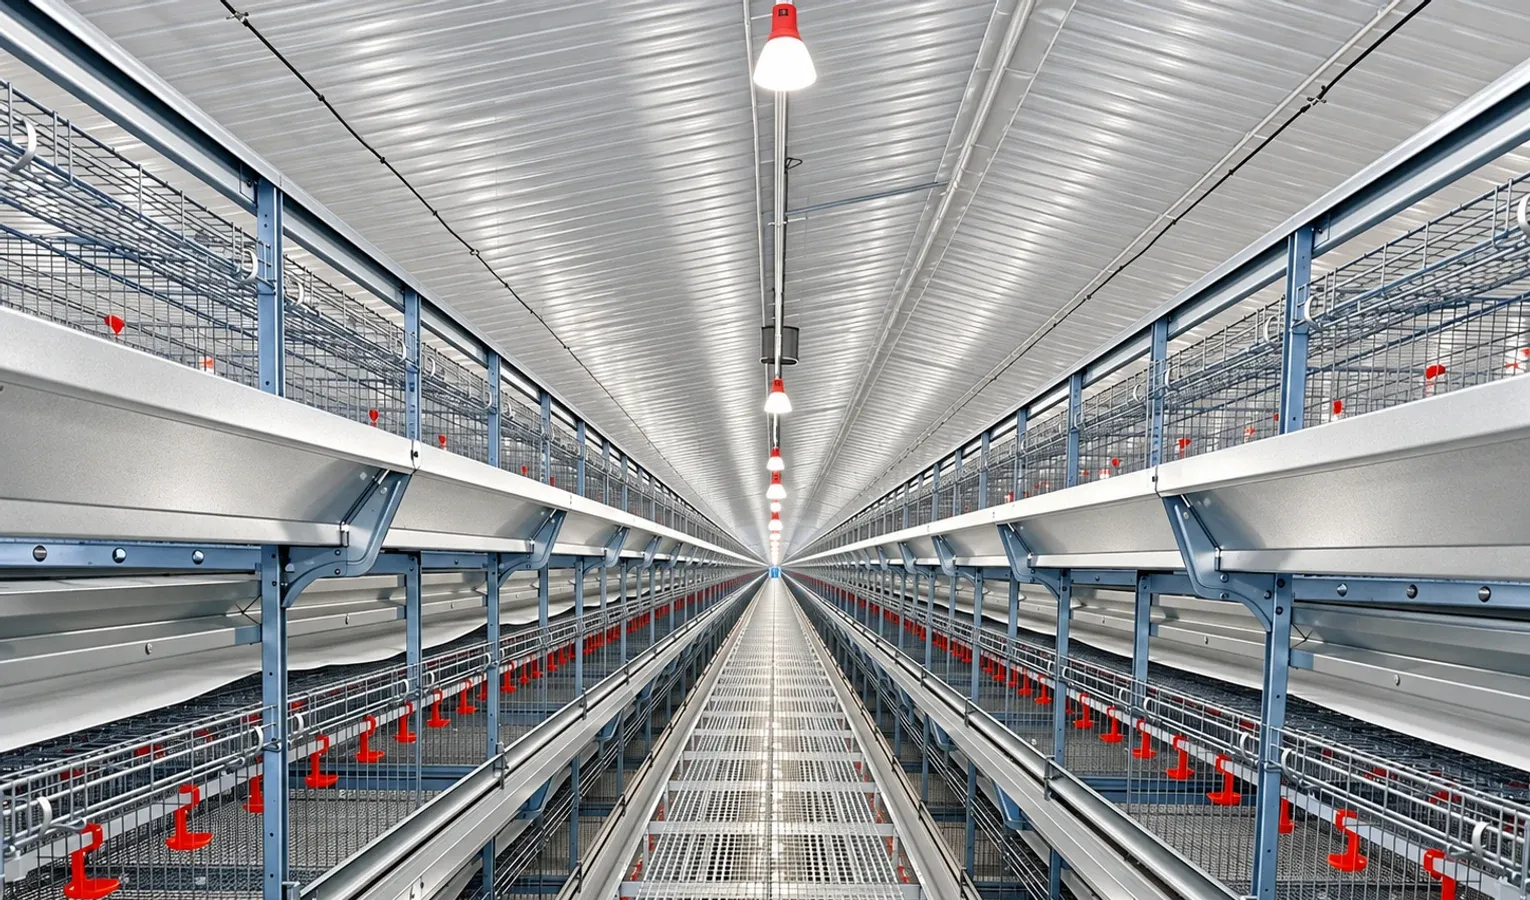
The three golden rules
- Never decrease day length during lay. Even a small cut signals "end of season" and drops production.
- Never increase day length during rearing. It brings the flock into lay underweight, with small eggs and higher prolapse.
- Change by no more than one hour per week. Sudden jumps stress the flock, and stress shows up as a lay drop or an outbreak of feather pecking.
Light intensity: the half everyone forgets
Hours get the attention, but intensity (measured in lux) matters just as much. Too dim and birds eat poorly and lay less; too bright and you invite aggression and pecking. The working targets by stage:
- Chicks (0-6 wk): 40-50 lux, warm light - active birds, strong early intake
- Rearing (7-18 wk): 10-15 lux - calm birds, less pecking
- Laying (19 wk+): 20-30 lux - enough to sustain production without triggering aggression
Measure at bird height, not at the light, and check the dark corners. In a multi-tier cage house the reading that matters is the dimmest cage, not the brightest.
Light color and spectrum
Color is a real lever, not a detail. Red-shifted light has been shown to lift laying rate by roughly 5 to 10% compared with cool white, because red wavelengths stimulate the reproductive response more strongly. Warm and red-spectrum light also tends to calm birds. This tunability is a big reason modern layer houses have moved to LED, where you can dial in both intensity and color to match each stage.
Midnight lighting: an extra feeding window
Midnight lighting is a short burst of light - typically one to one-and-a-half hours - in the middle of the dark period, giving hens an extra window to eat. In practice it raises daily feed intake by about 2 to 5 grams per bird. That is most valuable in two situations: during heat stress, when birds barely eat in the daytime heat and take the extra feed in the cool of the night; and during peak lay and growth, when appetite is the factor limiting performance. Introduce and remove it gradually, and count the burst as part of the day when you calculate total photoperiod.
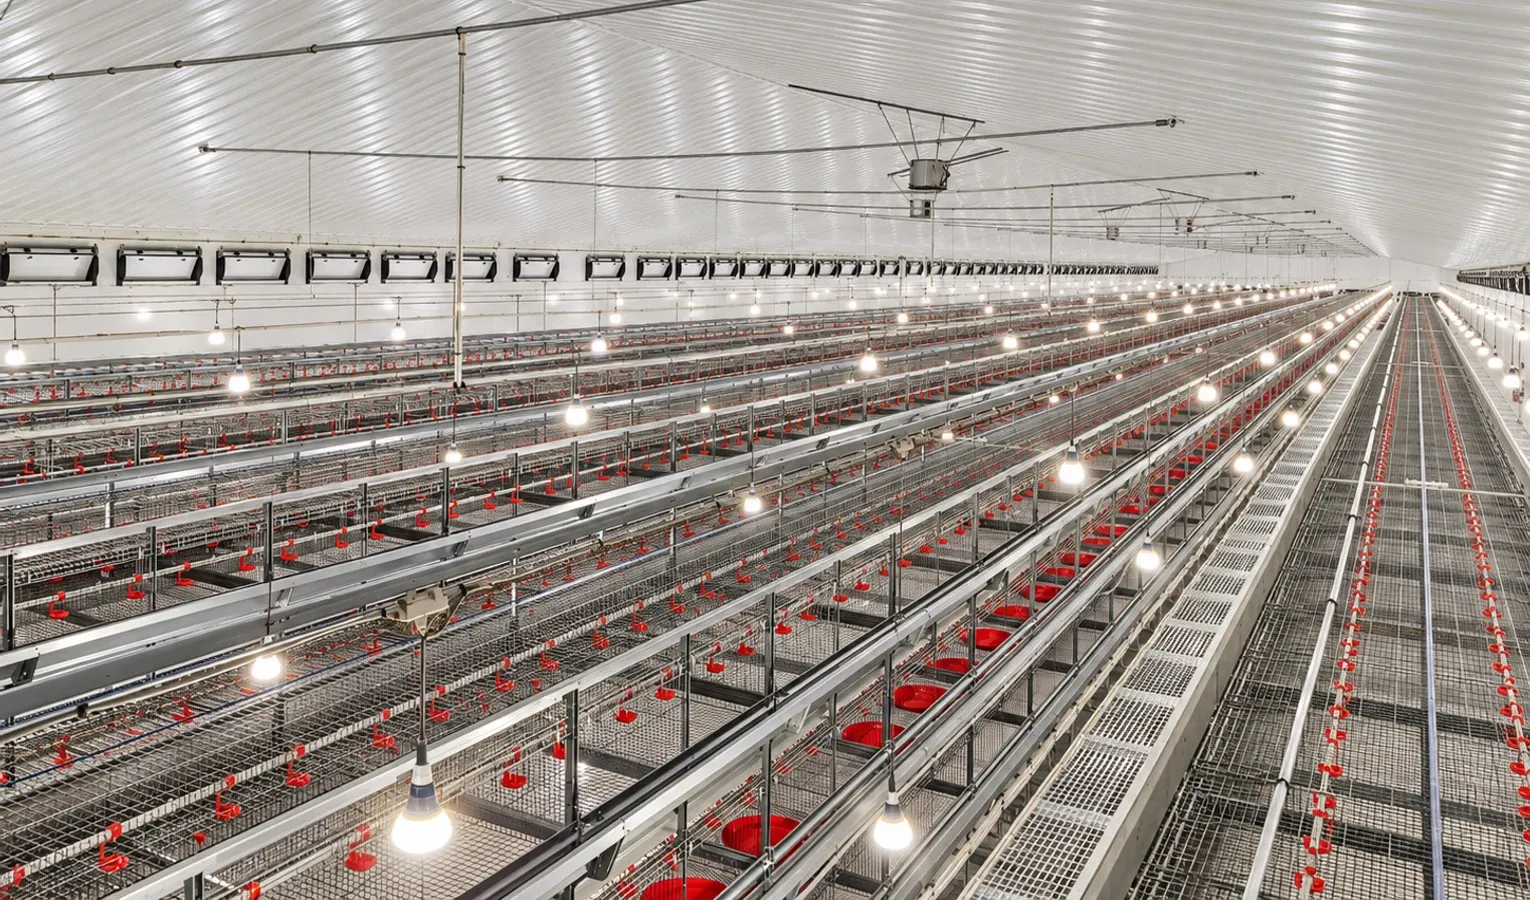
Uniform light on every tier
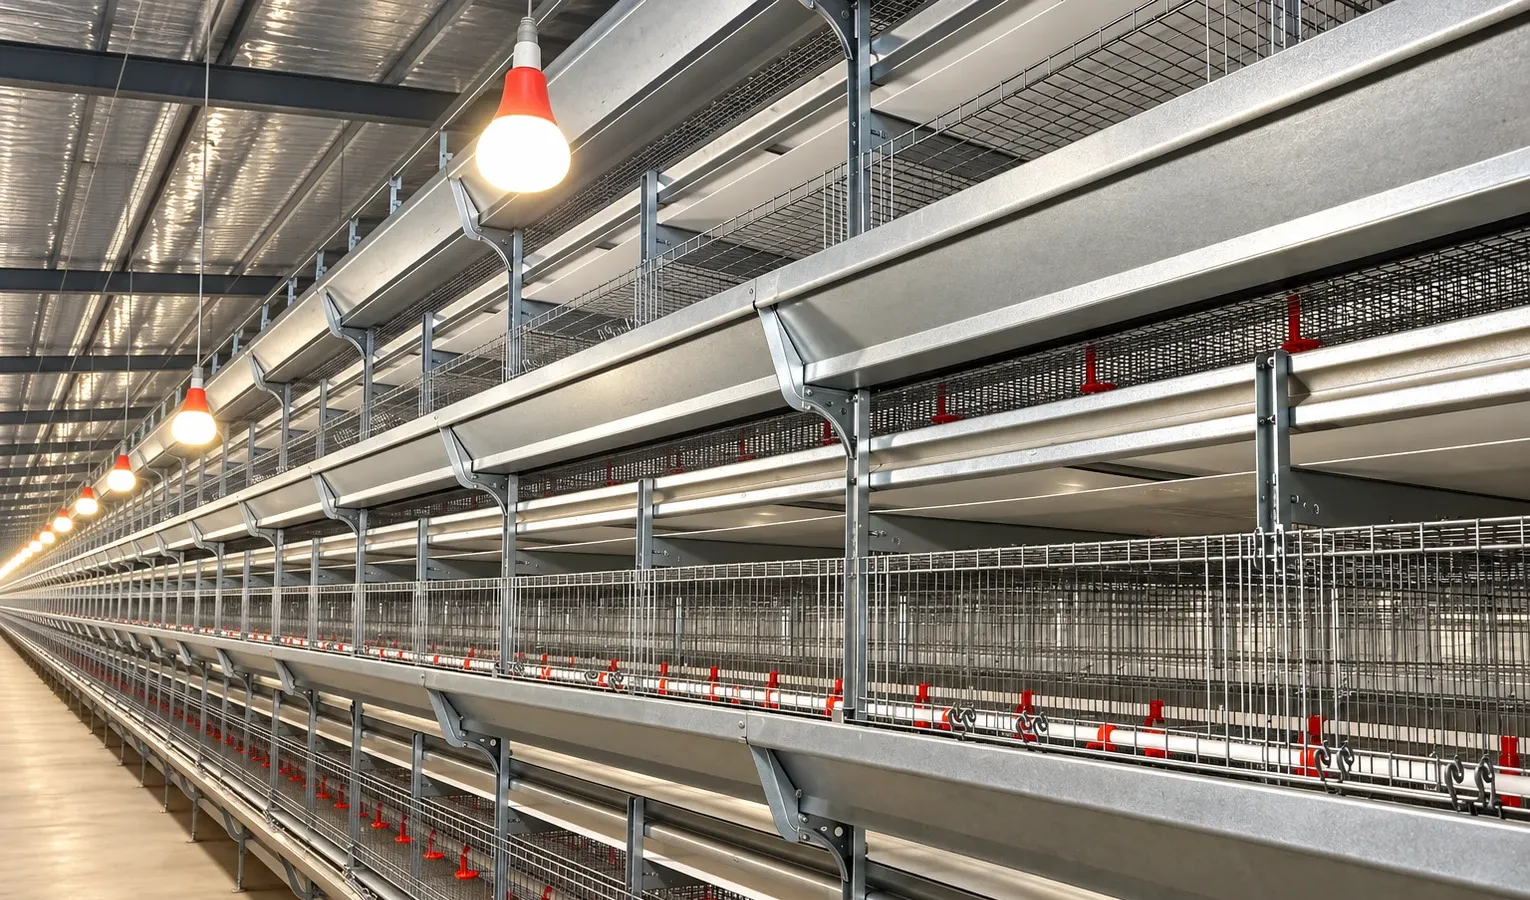
In a battery or H-type cage house, the single most common lighting failure is uneven light - bright aisles, dark cages. Birds in the dim cages simply lay fewer eggs, and no amount of "average" lux fixes it. Plan LED placement so every tier and every cage sees similar intensity, pay special attention to the lowest tier and the cage backs, and treat the darkest position as your true reading. Uniform light is worth more than higher light.
Why LED has replaced incandescent
LED earns its place on three counts. It cuts lighting electricity cost sharply against incandescent. It lasts far longer, which matters when changing bulbs across a tall, densely stocked house is a real chore. And dimmable, spectrum-tunable LEDs let you follow the exact intensity and color each stage needs, and run smooth dawn/dusk dimming that avoids the startle a hard on/off causes. For most commercial layer operations, LED pays back quickly on energy alone.
A sample layer lighting schedule
One workable program (always adjust to your breed guide and body-weight targets):
- Day 1-3: 20-22 hours, 40-50 lux - help chicks find feed and water
- Week 1-6: step down gradually to about 10-12 hours
- Week 7-17: hold 8-10 hours constant, 10-15 lux
- Week 18-19: at target body weight, increase to about 11-12 hours (first stimulation)
- Week 20 onward: add ~1 hour/week up to 16 hours, 20-30 lux, then hold to end of lay
Common lighting mistakes to avoid
- Letting rearing light creep up (natural daylight in an open house) - brings the flock into lay underweight
- Any cut in day length during lay - an instant production drop
- Sudden changes bigger than one hour a week - stress and pecking
- Uneven light across tiers - dark cages quietly lose you eggs
- Wrong intensity - too dim cuts intake, too bright drives aggression
- Stimulating on age alone, ignoring body weight - small eggs and a weak peak
Light is cheap to run and decisive in its effect, which makes the lighting program one of the highest-return things you manage in a layer house. Tell us your house type, breed and flock stage and we will help you plan an LED lighting layout and a full program matched to your cage system.
Visual checklist
Related reading
Pullet Lighting: Rearing and Transfer Planning
Layer Peak Production: Preparation and Monitoring
Further reading
Use the management guide for the actual breed, age and housing system when selecting flock targets. Review changes with the farm team and the relevant nutrition, health or equipment specialist.