
At a glance. Check litter condition, drinking-system leaks, humidity and ventilation together to investigate moisture problems across a poultry house.
Ask most producers to control humidity and they think of fans and heaters. But in a poultry house the single largest moisture reservoir is not the air — it is the litter on the floor. Bedding constantly absorbs water from droppings, spilled drinkers, and condensation, and just as constantly releases it back into the air. That makes the litter a giant humidity buffer, and whether it works for you or against you decides your air quality, your ammonia levels, and your birds' foot and respiratory health. Managing humidity and litter moisture together, rather than as separate problems, is the mark of a well-run house.
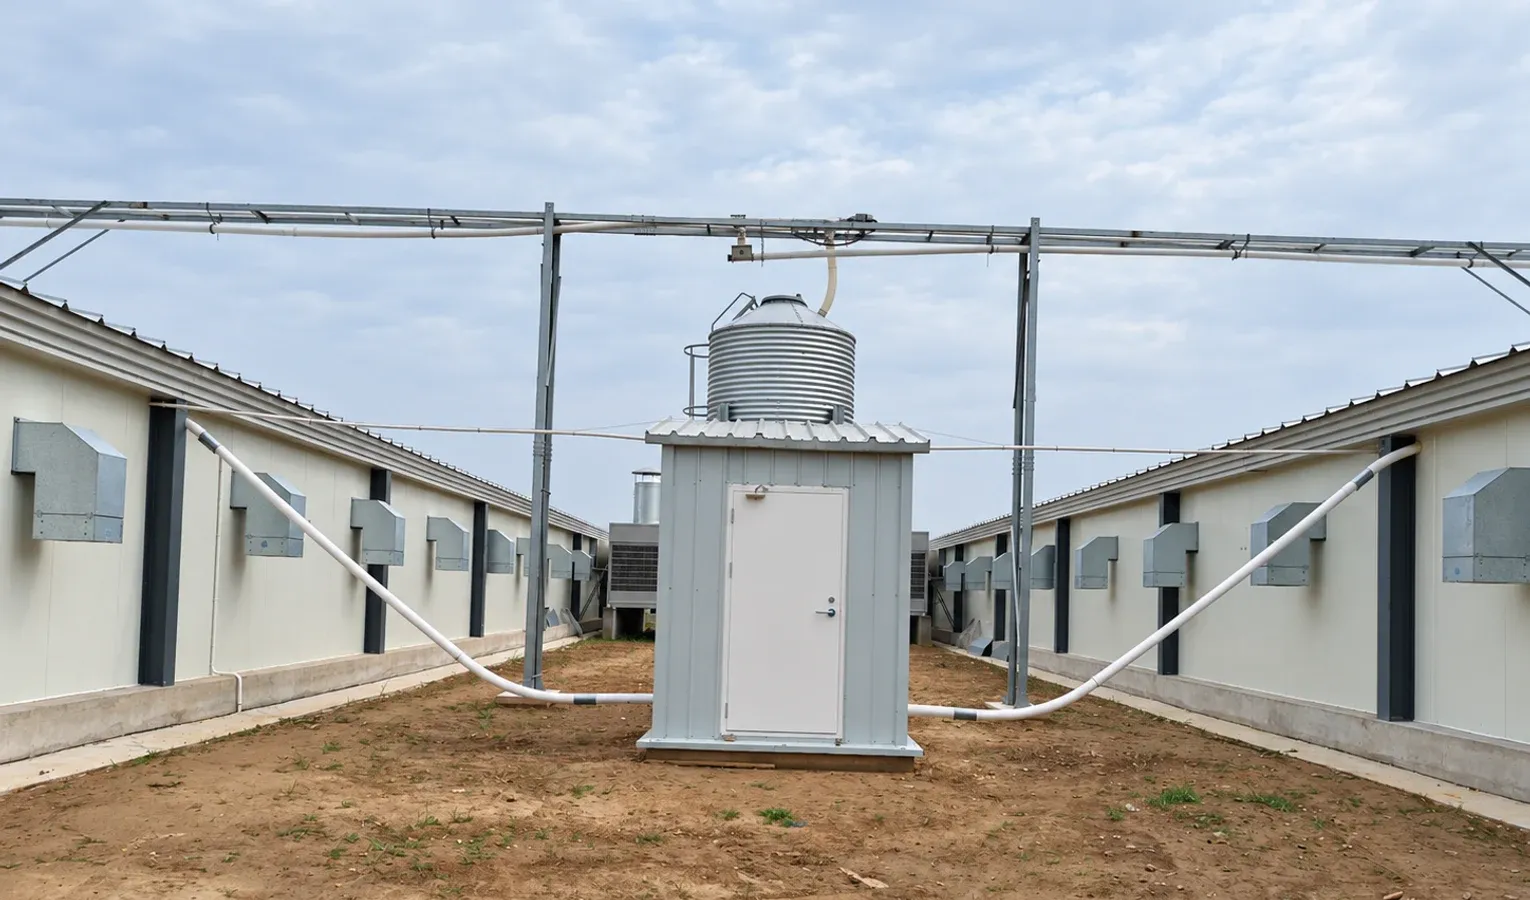
Litter as a Moisture Buffer
Think of the litter bed as a sponge sitting under the whole flock.
- When house air is humid, the litter absorbs moisture and holds it.
- When air is drier, the litter gives that moisture back.
- The bed smooths out swings in humidity — but only up to its capacity.
Once the litter is saturated, it stops buffering and starts dumping moisture and ammonia into the air. Keeping the buffer working means keeping the litter from ever reaching that saturated, capping state.
Target Humidity by Production Stage
The right relative-humidity target shifts as the flock ages, and each stage has its own band.
- Early brooding (first ~10 days): aim for about 60 to 70 percent relative humidity to keep chicks from dehydrating.
- After brooding: bring humidity down to roughly 50 to 60 percent as birds grow and moisture output rises.
- Laying period: hold around 60 to 65 percent for comfortable, productive hens.
These bands balance two risks: too dry and you get dust and dehydration; too wet and you get caked litter, ammonia, and disease.
Why Chicks Need It Humid, Then Not
The high early target surprises people used to fighting wet litter, but young chicks are vulnerable to drying out.
- Newly placed chicks lose water fast in dry air and can dehydrate before they drink enough.
- 60 to 70 percent humidity in the first days protects them while their intake ramps up.
- As they grow and drink more, their own moisture output rises, and the target drops to keep litter dry.
The shift from a humid brooding start to a drier grow-out is a deliberate curve, not a fixed setpoint.
The Cost of Litter That Is Too Wet
Wet litter is where a long list of problems begins, and almost all of them are expensive.
- Saturated litter releases ammonia, which damages the respiratory tract and eyes.
- Damp bedding causes footpad dermatitis and hock burns, downgrading birds.
- Wet, warm litter breeds coccidia, bacteria, and flies.
- Caked litter loses its insulating and cushioning value.
Every one of these traces back to the buffer being overwhelmed — too much water in, not enough taken out by ventilation.
The Cost of Litter That Is Too Dry
The opposite extreme is less common but still costly.
- Very dry litter turns to dust, which irritates airways and carries pathogens.
- Dust worsens air quality and can trigger respiratory issues even without ammonia.
- Over-dry brooding air dehydrates chicks in the critical first days.
The goal is a friable, spring-in-the-hand litter — damp enough not to dust, dry enough not to cap.

Reading Litter by Hand
You do not need a lab to judge litter moisture; your hand is a good enough tool.
- Squeeze a handful: it should briefly hold shape then crumble apart.
- If it forms a wet ball that stays clumped, it is too wet.
- If it will not hold shape at all and puffs into dust, it is too dry.
- A hard, capped crust on the surface means the bed has stopped breathing.
This quick test, done in several spots daily, catches moisture problems before they show up as sick birds.
When and How Often to Change Litter
Wet, caked, or clumped litter has to be removed, and the schedule depends on the season.
- Replace wet or capped patches roughly every 7 days when they form.
- In dry autumn conditions litter may last 10 to 15 days between changes.
- In wet winter conditions it may need changing every 3 to 5 days.
The frequency is driven by how fast the buffer saturates, which in turn depends on ventilation, drinker management, and outside humidity.
Ventilation Is the Litter's Drain
Litter can only stay dry if the moisture it releases is carried out of the house. Ventilation is the drain on the buffer.
- Minimum ventilation in cold weather is sized specifically to remove litter moisture.
- If ventilation is too low, the buffer fills and litter caps no matter how good the bedding.
- If humidity climbs above the target band, increase ventilation before the litter saturates.
You cannot fix wet litter by changing bedding alone if the air is not carrying moisture away — the new bedding will simply saturate too.
Drinkers: The Biggest Controllable Water Source
Much of the water in litter never passed through a bird — it leaked or spilled from the drinker line.
- Set nipple height and pressure so birds drink without flicking water onto the litter.
- Check for leaks daily; a single dripping nipple soaks a patch of bedding continuously.
- Correct drinker management can cut litter moisture dramatically at no ongoing cost.
Managing the drinkers is often the fastest, cheapest way to protect the litter buffer.
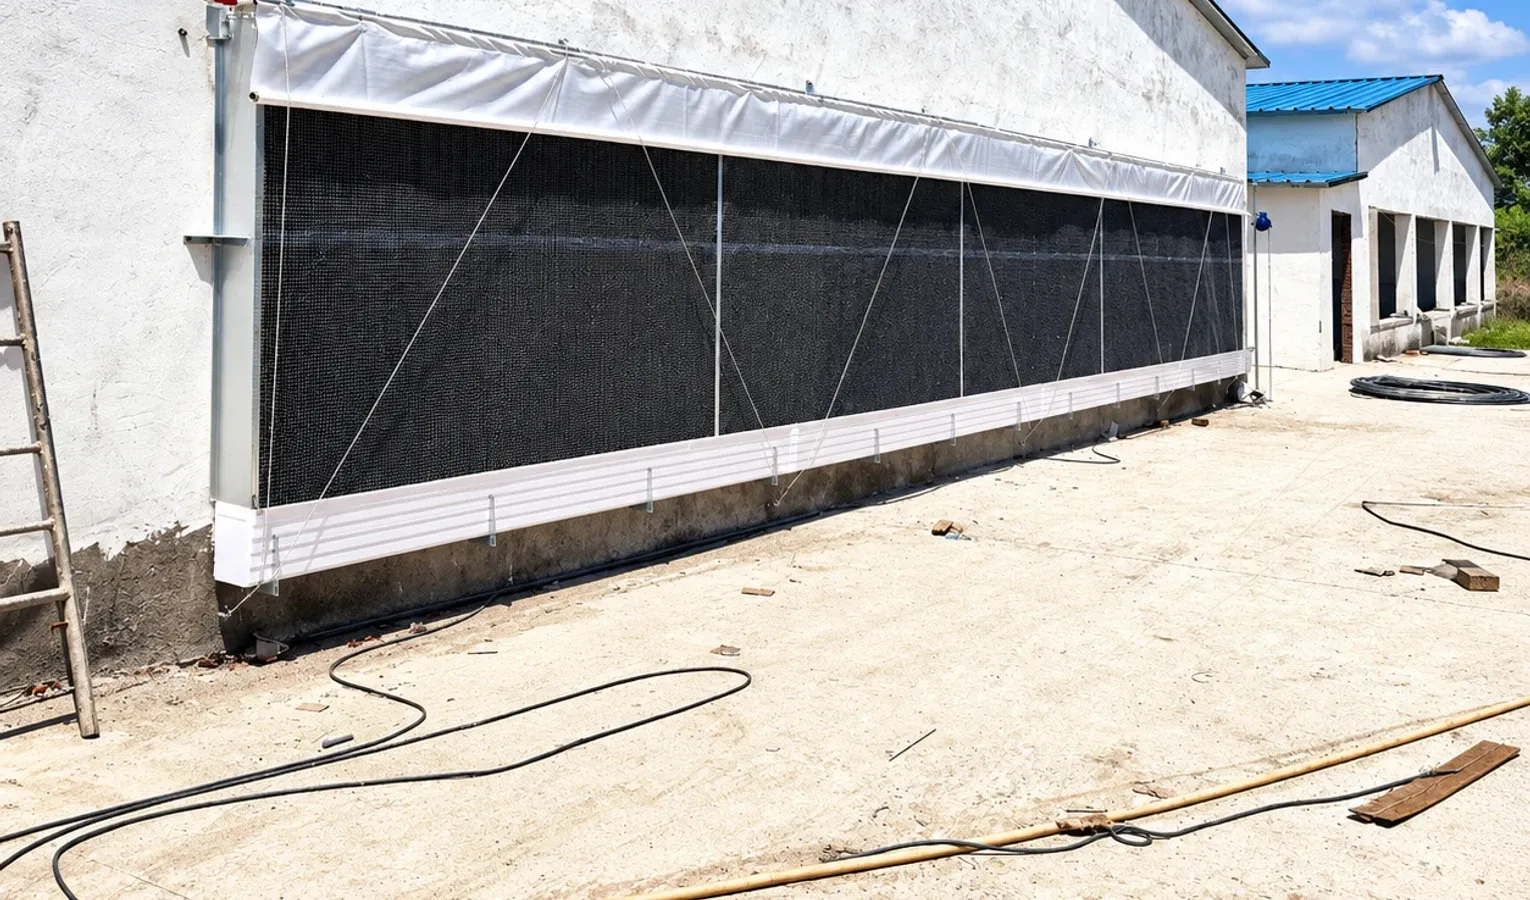
Humidity, Litter, and Ammonia Are One System
These three are not separate issues; they are three views of the same water balance.
- Wet litter plus poor ventilation equals high humidity and high ammonia.
- Dry litter plus good ventilation equals moderate humidity and low ammonia.
- Fixing any one of the three usually means fixing the water balance behind all three.
Manage the moisture and the ammonia and humidity problems tend to solve themselves.
Bedding Choice and Depth Matter
Not all bedding buffers moisture equally, and the material and depth you start with set the ceiling on how much water the floor can hold.
- Absorbent, coarse materials like softwood shavings or chopped straw hold moisture while staying friable.
- A starting depth of roughly 5 to 10 cm gives the buffer real capacity; too thin and it saturates in days.
- Fine, dusty, or already-damp bedding starts the flock at a disadvantage and caps sooner.
Match the bedding to what is available locally, but never economize so far that the buffer is too shallow to do its job. A deeper, more absorbent bed simply takes longer to reach the saturated, capping state that dumps ammonia into the air.
A Litter-and-Humidity Routine
A practical daily and weekly routine keeps the buffer healthy:
- Check house relative humidity against the stage target (60–70%, 50–60%, or 60–65%).
- Hand-test litter moisture in several spots.
- Walk the drinker line for leaks and correct height and pressure.
- Increase ventilation before humidity climbs out of band.
- Remove and replace capped or wet litter on a ~7-day rhythm, adjusted for season.
Bringing It Together
The litter under your flock is the biggest humidity buffer in the house, and it works only as long as you keep it from saturating. Hold humidity in the right band for the stage — 60–70 percent for young chicks, 50–60 percent through grow-out, 60–65 percent in lay — drain the moisture with correct ventilation, control the drinkers, and change capped litter about every 7 days. Do that and the floor works for you, keeping air clean and birds healthy.
If you want help balancing ventilation, drinker systems, and house design so your litter stays dry through every season, our team can size the equipment to your climate and flock. Reach out and we will help you keep the buffer on your side.
Visual checklist
Related reading
Poultry House Air Quality: Ammonia and Gas Monitoring
Nipple Drinker Setup: Flow, Height and Pressure Checks
Further reading
UGA poultry ventilation resources
Check operating targets against bird age, local climate, measured house conditions and the equipment specifications. A general design example does not replace a house-specific ventilation assessment.