At a glance. Plan clean-out, washing, approved disinfection, drying and verification between flocks, with clear responsibilities and chemical safety instructions.
The single most valuable window in a poultry farm's calendar is the empty period between flocks. This is your one chance to reach every surface a bird will later touch and reduce the microbial load close to zero before day-old chicks arrive. Done properly, terminal disinfection breaks the cycle of carry-over infection that quietly drags down performance flock after flock. A disciplined routine can cut the bacterial count on housing surfaces by well over 99%, but only if the steps are followed in order. Skipping straight to a shiny disinfectant sprayer while manure still sits in the corners simply wastes product. This guide walks through a practical 5-step protocol that commercial farms across Africa, Asia and Latin America can adapt to their own houses.
Why Terminal Disinfection Matters
Every flock leaves behind a hidden inheritance: bacteria, viruses, coccidial oocysts, fungal spores and darkling beetles that carry pathogens from one crop to the next. If you place new chicks into that environment, you start the flock already fighting an infection pressure that need never have existed.
Terminal disinfection matters because it is the only moment you can treat the house as an object rather than a home for living birds. You can use stronger chemicals, higher pressures and fumigants that would be impossible with a flock in place.
- Breaks the disease cycle between crops
- Lowers early-life mortality and improves uniformity
- Reduces the need for therapeutic antibiotics later
- Protects the investment already made in genetics and feed
- Supports a true "all-in, all-out" biosecurity model
The 5-Step Overview
Terminal disinfection is not one action but a sequence, and each step depends on the one before it. The five steps are simple to remember and should never be shuffled.
- Step 1 - dry clean-out and sweeping
- Step 2 - washing with water, detergent and foam
- Step 3 - spray disinfection with a broad-spectrum product
- Step 4 - fumigation of the sealed house
- Step 5 - downtime and rest before restocking
The golden rule underlying all five is that disinfectant cannot penetrate organic matter. Dirt shields microbes physically and chemically inactivates most disinfectants, so cleaning always comes before killing.
Step 1: Dry Clean-Out
Begin by removing everything that is not a fixed part of the building. Take out portable feeders and drinkers for separate cleaning, then strip the house of all manure, litter, dust, feathers and spilled feed.
Work from the ceiling downward so that dust and cobwebs fall onto floors you have not yet cleaned. Sweep or scrape the floor and pay attention to ledges, fan housings, beams and cable trays where dust accumulates.
- Remove all litter, manure and caked feed
- Brush down ceilings, walls, beams and fan louvres
- Empty and clean feed bins and augers
- Dispose of organic waste well away from the house
- Control darkling beetles before the litter cools
Step 2: Washing and Foaming
With the bulk of organic matter gone, the house still carries a greasy biofilm on every surface. This is where detergent earns its place. A foaming detergent clings to vertical surfaces long enough to lift grease and dried-on residue.
Apply foam from the bottom up so you can see coverage, let it soak for the label contact time, then rinse top-down with a pressure washer. Allow the house to dry fully before disinfecting, because pooled water dilutes whatever you apply next.
- Pre-soak heavily soiled areas first
- Apply foam detergent generously, bottom-up
- Pressure-wash top-down after the soak
- Rinse until run-off is visibly clear
- Let all surfaces dry completely before Step 3
Step 3: Spray Disinfection and Disinfectant Classes
Now the surfaces are clean and dry, disinfectant can do its job. Choose a broad-spectrum product and apply it at the label dilution until surfaces are soaked, not merely damp. The aim is to keep the surface wet for the full contact time the label specifies.
Several chemical families are suitable, and rotating between them over successive crops helps prevent resistance building up.
- Glutaraldehyde plus quaternary ammonium blends
- Phenolic disinfectants
- Iodophors (iodine-based)
- Peroxygen (peroxide/peracetic acid) compounds
These are a reference protocol only - always confirm the exact product, dilution and contact time with your local veterinarian and the product label, because water hardness, temperature and organic load all change how a disinfectant performs. Soak floors, walls, ceilings and equipment thoroughly rather than passing over them quickly.
Step 4: Formaldehyde Fumigation - The Math
Fumigation reaches the crevices a sprayer cannot. The classic method combines formalin (a 40% formaldehyde solution) with potassium permanganate, which react to release formaldehyde gas throughout the sealed house.
For routine terminal fumigation, a common reference rate is about 28 ml of formalin plus 14 g of potassium permanganate per cubic metre of house volume. After a serious disease outbreak, a triple-strength rate of roughly 42 ml formalin plus 21 g permanganate per cubic metre is sometimes used.
- Calculate house volume as length x width x average height
- Multiply volume by the per-cubic-metre rate
- Always add formalin to the permanganate, never the reverse
- Use heat-proof containers spread across the floor
- Seal all inlets, fans and doors before starting
The reaction only proceeds well when the house is warm, above 20 C, and humid, above 70% RH. Treat these figures as a reference protocol and verify concentrations, ratios and contact times with your veterinarian and local regulations, since formaldehyde use is restricted or banned in some countries.
Fumigation Safety and Ventilation
Formaldehyde gas is toxic and classified as a carcinogen, so this step demands strict discipline. Nobody should ever enter the house during the reaction, and warning signs should be posted on every door.
Start the reaction from a doorway and leave immediately. After the required exposure, ventilate the house thoroughly for 24-36 hours before anyone enters without respiratory protection.
- Never enter during the active reaction
- Wear appropriate PPE when setting up and ventilating
- Post clear warning signage on all entrances
- Ventilate 24-36 hours before re-entry
- Keep an antidote plan and first-aid kit on hand
Step 5: Downtime by Flock Type
Even a perfectly disinfected house benefits from rest. Downtime lets residual moisture dry, ultraviolet light and desiccation finish off survivors, and any missed pathogen load decline naturally.
The length of rest depends on the flock type and the disease history of the site.
- Commercial broiler and layer houses: 10-14 days empty
- Breeder houses: about 4 weeks (28 days)
- After a serious outbreak: extend toward 28 days or more
- Keep the house sealed and rodent-proof during downtime
- Resist the temptation to shorten rest under scheduling pressure
Don't Forget Water Lines and Equipment
Disease does not only live on floors and walls. The drinking system, feed lines, fans, inlets and the concrete apron around the house all harbour organisms and are easy to overlook.
Flush and sanitise water lines to strip biofilm, clean feed augers and bins, and disinfect the apron where vehicles and staff traffic concentrate contamination.
- Descale and sanitise drinker lines, then flush thoroughly
- Clean and disinfect feeders, pans and augers
- Wash fan blades, shutters and inlet boxes
- Disinfect the apron, entrances and footbaths
- Service and refill footbath and wheel-dip stations
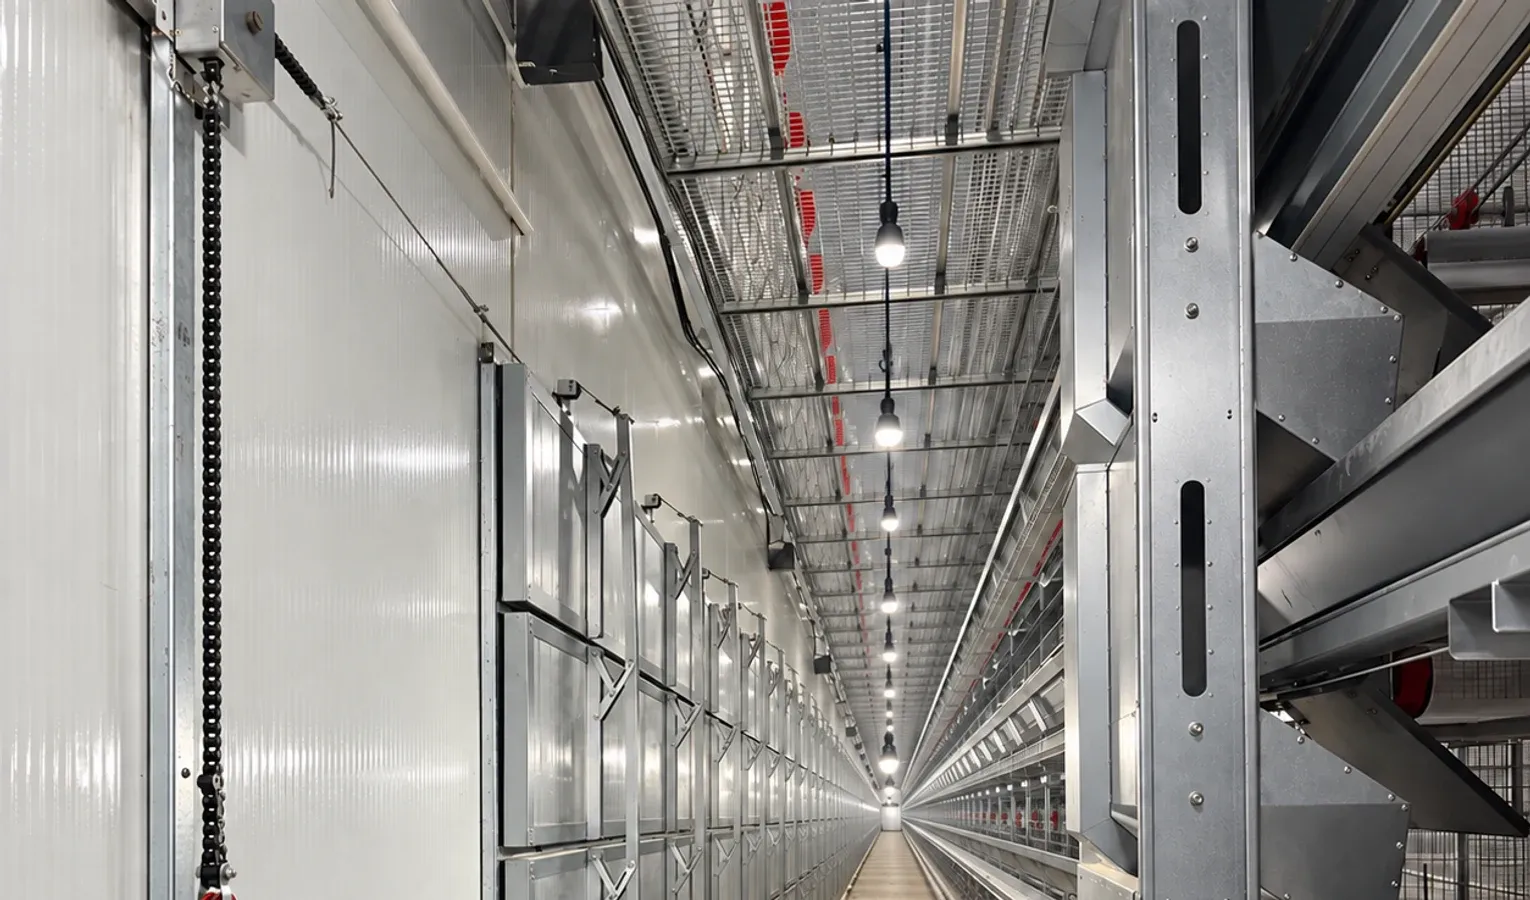
Verifying the Job With Swabs
You cannot manage what you do not measure. Where laboratory support is available, environmental swabs and a total viable count give an objective score of how well the cleaning worked.
Sample the same spots each crop so you can track trends over time, and act on high counts by revisiting the earlier steps rather than adding more chemical at the end.
- Swab floors, drinker lines, feeders and cool-cell pads
- Compare total viable counts against your own baseline
- Culture for specific pathogens after an outbreak
- Record results and trend them crop over crop
- Re-clean and re-test any area that fails
Common Mistakes
Most disinfection failures trace back to a handful of avoidable errors. Recognising them protects the whole effort.
- Applying disinfectant onto surfaces still coated in organic matter
- Under-dosing or over-diluting to save product
- Wetting surfaces instead of soaking for the full contact time
- Fumigating a house that is too cold or too dry to react
- Cutting downtime short to meet a placement date
A Terminal-Disinfection Checklist
A simple written checklist keeps the crew consistent and gives management a record that each step was completed.
- Litter and manure removed and hauled away
- House swept and brushed top-to-bottom
- Foamed, soaked, pressure-washed and dried
- Disinfectant applied at label rate and soaked
- House fumigated, ventilated and rested for the correct downtime
Terminal disinfection is a discipline, not a single spray, and the farms that treat it that way place healthier flocks with fewer surprises. If you are planning a new house, upgrading ventilation, or reworking your cleaning flow to make these five steps easier and faster, our technical team is glad to help you map housing, equipment and airflow around a biosecurity routine that fits your climate and your birds. Reach out and let's design a setup that makes a clean start the easy default.
Visual checklist
Related reading
All-In-All-Out Poultry Management and Downtime
Poultry Farm Biosecurity: People, Vehicles and Equipment
Further reading
Disease prevention and treatment must be adapted to the flock and local requirements. Confirm medicines, vaccines and disinfectant procedures with the responsible veterinarian and the approved product instructions.