At a glance. Prepare drinking and feeding access before chick arrival, then observe distribution, activity and crop fill using the relevant breeder guidance.
The moment a chick leaves the hatcher, a clock starts ticking. Residual yolk keeps it alive for a short window, but every hour without water and feed erodes the growth potential locked into those first seven days. A broiler chick that weighs roughly 40 g at placement should reach about 180 g by day 7 — a 4.25x multiplication that never happens again in the bird's life. Almost none of that is possible if the digestive tract stays empty. Getting the first drink and first bite right is the cheapest, highest-return job in the whole grow-out, and it comes down to a handful of numbers and a strict sequence.
Why the First 24 Hours Decide the Flock
Chicks are still developing their gut lining, immune tissue, and thermoregulation during the first days after hatch. Feed and water are the triggers that switch these systems on. Early intake accelerates yolk absorption, kick-starts enzyme production, and drives the intestinal surface area that determines lifetime nutrient uptake.
- Roughly 80% of first-week energy goes into growth and organ development, not maintenance — a chick that eats late simply cannot fund it.
- Delayed access widens flock variation early, and early variation is almost impossible to correct later.
- First-week performance is the single best predictor of final body weight and feed conversion.
Water Before Feed, Always
The correct sequence is water first, then feed. A chick that eats dry crumble before it has drunk risks impaction, because it needs fluid to soften and move feed through the crop. Offer water immediately on arrival and let birds rehydrate before feed appears.
- Get chicks drinking within the first hour of placement.
- Serve water at 16-24 C — cold water chills the chick and suppresses intake, warm water is refused.
- Introduce feed about 2-3 hours after the birds have started drinking.
Never Let the First Drink Slip Past 24 Hours
The absolute deadline for water is 24 hours from hatch. Beyond that, dehydration and yolk-driven weight loss stack up fast, mortality climbs, and the survivors carry a permanent handicap. In practice this means factoring in hatch time and transport, not just barn placement time.
- Plan logistics so total time from hatch to first drink stays comfortably under 24 hours.
- If transport was long, dim the lights on arrival and walk the flock to the drinker line to teach location.
- Watch for panting, huddling, or closed eyes — classic early dehydration signals.
Sugar and Electrolytes for the First Three Days
Chicks arrive with depleted glycogen. A light energy and electrolyte boost in the water helps them recover from transport and find their feet. A common approach is a 1% sugar (or glucose) solution for the first three days, or a commercial electrolyte-vitamin pack.
- Use roughly 1% sugar water for the first 3 days, then switch to clean fresh water.
- Do not overdo sugar concentration — high levels can loosen droppings and foul the litter.
- Keep water lines flushed and cool; biofilm and warm water both cut intake.
Set the Drinkers to the Right Height and Pressure
Even perfect water is useless if chicks cannot reach it or trigger it. Nipple drinkers should sit so a chick drinks with a slightly raised head, and pressure should be low enough that a gentle touch releases a droplet.
- At placement, set nipples near eye level so chicks drink looking slightly upward.
- Start flow rate around 35-45 ml/min for the youngest chicks, raising it as they grow.
- Provide roughly one nipple per 10-12 chicks and walk the line to confirm every bird can trigger it.
Feed on Paper: Make the First Bite Impossible to Miss
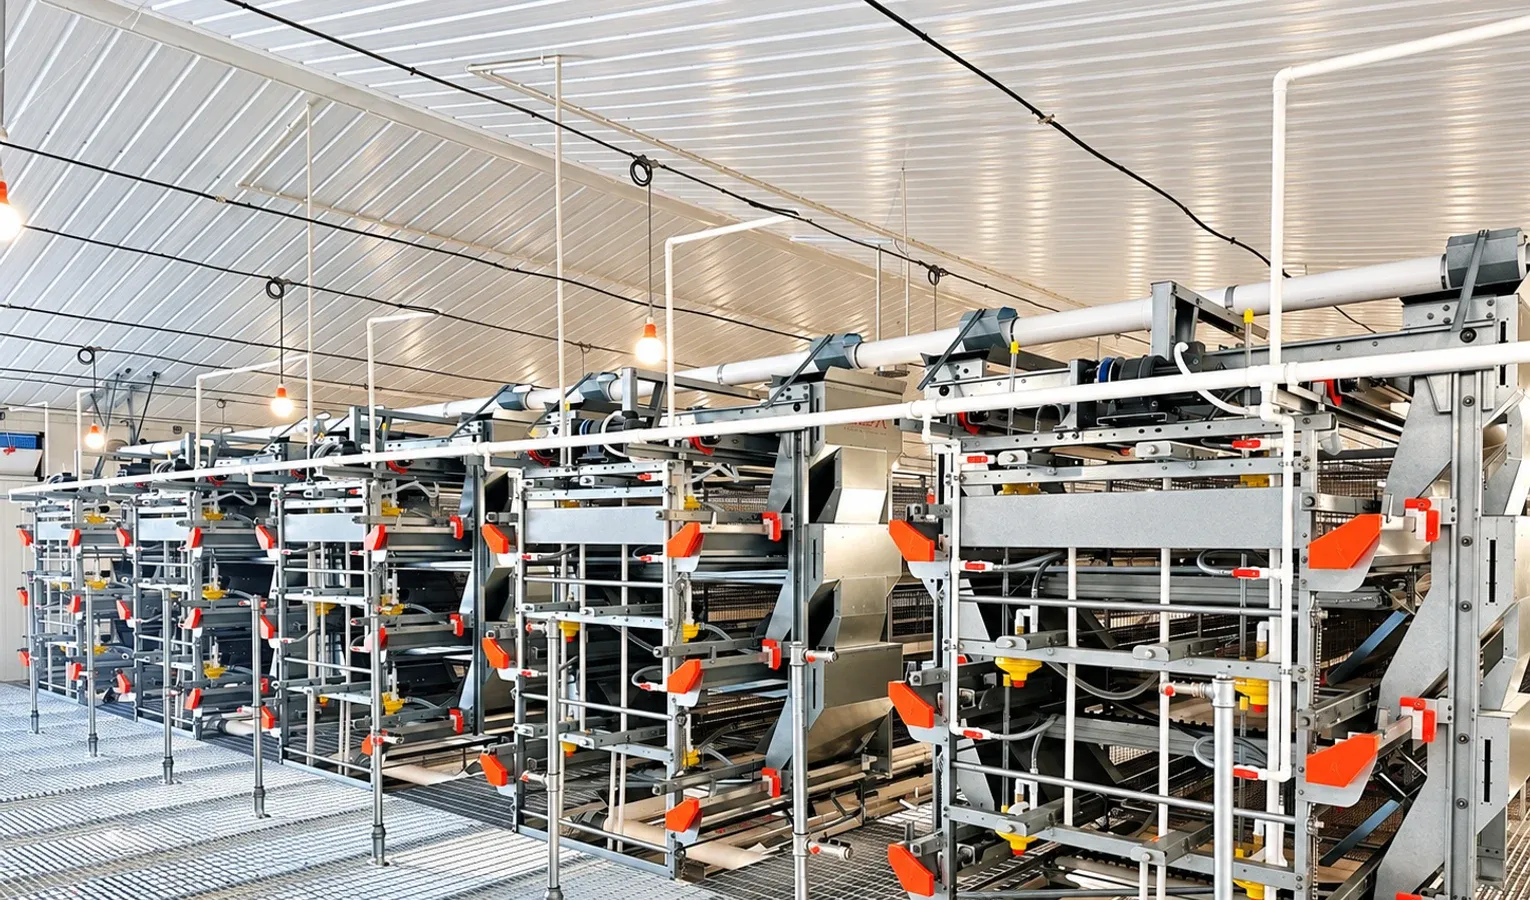
Day-old chicks respond to the sound and sight of feed on paper far better than to a feeder pan alone. Spreading crumble on brood paper turns the whole brood ring into a feeding station and teaches birds where the pans are.
- Cover 25-50% of the brooding floor with paper and scatter feed on it.
- Provide supplementary feeder trays at roughly one per 50-100 chicks in the first days.
- Use paper that dissolves or is removed by day 4-5 once birds have found the main feeders.
Crop Fill: The Number That Proves It Worked
Crop fill is the single best real-time check that chicks are eating and drinking. Gently feel the crops of a random sample of birds a few hours after placement. A well-fed crop feels soft and rounded, like a small water balloon.
- Target at least 75% of chicks with full crops within 2 hours of feed access.
- By 24 hours, aim for 95%+ full crops across the sample.
- A soft crop is normal, a hard or gritty crop means too little water, and a swollen, watery crop means too little feed — read the mix, not just the count.
Light the First Day Around the Clock
Chicks navigate to feed and water by sight, so the first day should be bright and nearly continuous. This maximizes the time birds spend finding resources before you introduce a dark period for rest and development.
- Run close to 24 hours of light on day 1 at high intensity (around 30-40 lux).
- Step the photoperiod down over the following days toward the program target once intake is established.
- Bright, even light with no dark corners keeps chicks active and spread across the brood area.
Floor and Air Temperature at Placement
Cold chicks stop eating and drinking. They cannot regulate their own body temperature well in the first days, so the environment has to do it for them. Floor temperature matters as much as air temperature, because chicks stand and rest on the litter.
- Preheat so floor temperature reaches about 30-32 C and air sits around 32-34 C at chick level.
- Preheat the house well in advance — a cold slab drains heat from birds no matter how warm the air is.
- Even distribution, not just average temperature, is what keeps birds spread and feeding.
Read the Chick Behavior
The flock tells you whether the protocol is working. Well-managed chicks are quiet, spread evenly, and move between feed, water, and rest. Distribution is a live thermometer and a live feed-and-water audit.
- Evenly spread, softly chirping chicks mean temperature and access are right.
- Huddling under the heat source means too cold; edges and gasping mean too hot.
- Loud, restless cheeping usually means hungry, thirsty, or chilled — investigate before mortality climbs.
Common First-Day Mistakes That Cost the Flock
Most early setbacks trace back to a few avoidable errors. Each one delays the first drink or first bite and shows up later as poor uniformity and disappointing weights.
- Feed offered before water, leading to impaction and refusal.
- Water lines too high, too cold, or under too much pressure for tiny chicks.
- Cold litter that chills birds off feed despite warm air.
- Skipping the crop-fill check, so a slow start goes unnoticed until day 7 weights disappoint.
A Simple Placement-Hour Checklist
Turning the protocol into a routine keeps every crew consistent. Run through the same short list every time birds arrive, and the results become repeatable.
- Preheat house; confirm floor at 30-32 C before birds arrive.
- Water available at 16-24 C, drinkers at chick height, lines flushed.
- Chicks drinking within 1 hour; feed on paper within 2-3 hours.
- Crop-fill check at 2, 8, and 24 hours; target 95%+ full by 24 hours.
- Near-continuous bright light on day 1; watch distribution.
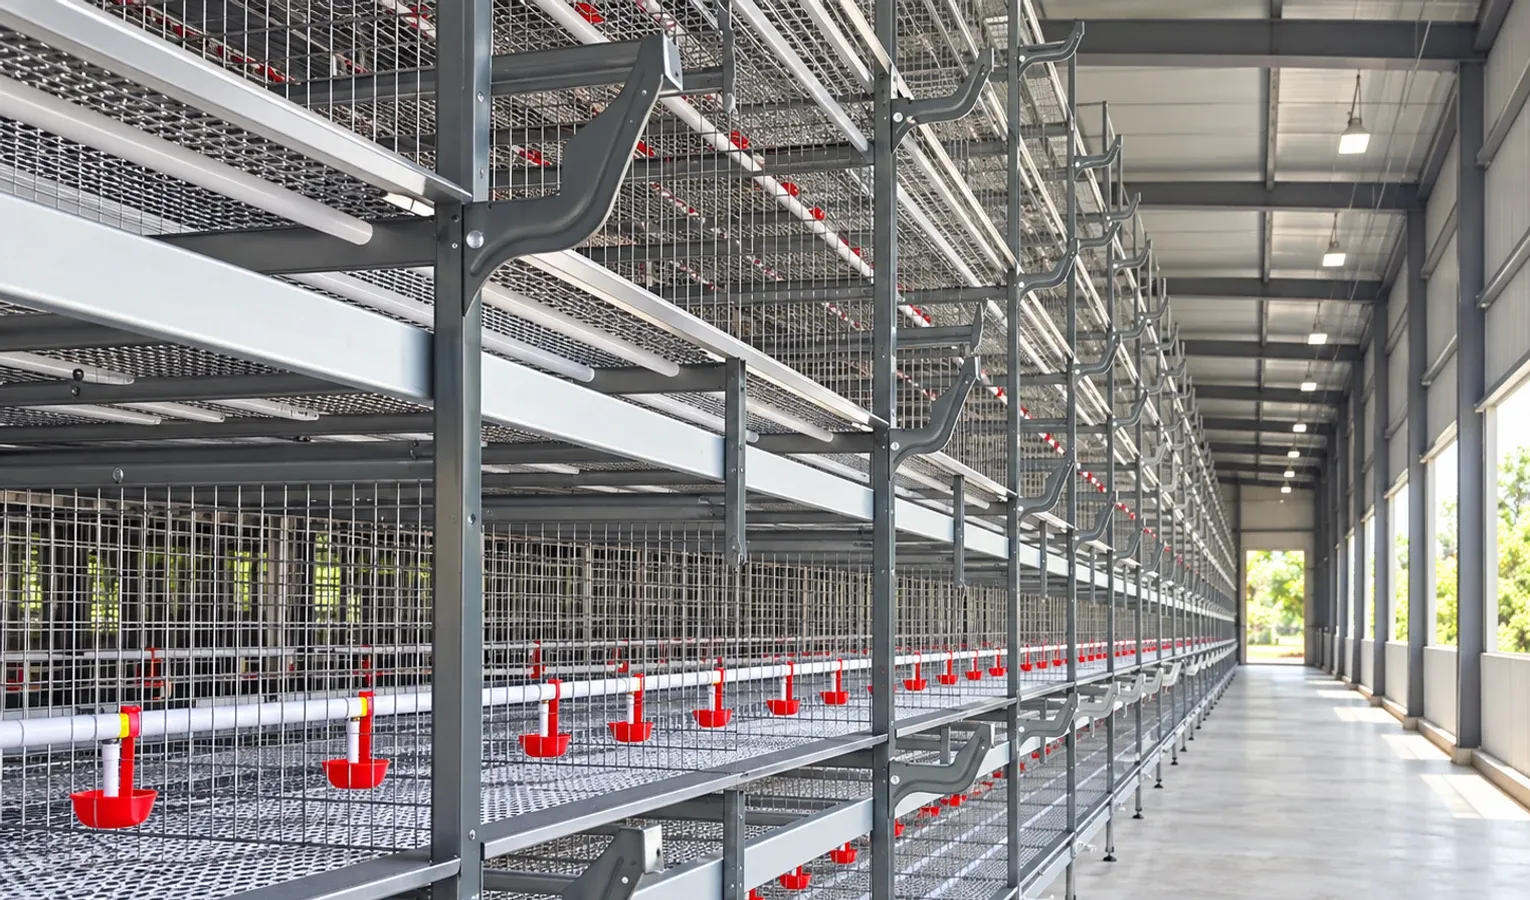
Nail these first hours and the rest of the grow-out gets easier: uniform birds, faster early gains, and a feed conversion that starts from a strong base. If you are reviewing how your brooding house is laid out — drinker lines, feeder spacing, and heat distribution — it may be worth stepping back and matching the equipment plan to this protocol so the biology and the hardware are pulling in the same direction.
Visual checklist
Related reading
Day-Old Chick Quality: A Placement Inspection Guide
Broiler Brooding: First-Week Environment and Access
Further reading
Use the management guide for the actual breed, age and housing system when selecting flock targets. Review changes with the farm team and the relevant nutrition, health or equipment specialist.