Automatic Poultry Water Pressure Regulator
Specifications
- FitStandard nipple drinker lines
- GaugeClear water-column tube or dial indicator
- By ageStep pressure up as birds grow
- BypassFull-open position for cleaning and sanitizing
- FunctionHold constant low pressure on a nipple line
- MaterialFood-grade, corrosion-free body
- Flush modeLever / position for full line flush
- CertificationISO 9001, SONCAP, PVOC
- Working range0.18 to 0.22 MPa typical
- Setting methodWater-column height, adjusted by age
- Water column, laying20 to 30 cm
- Water column, brooding10 to 20 cm
A water pressure regulator is the small device at the head of every nipple line that decides how much water each bird gets. Mains and header-tank pressure is far too high and too variable for a nipple valve, which needs a steady, gentle push to release a clean drop without leaking. The regulator drops that incoming pressure to a low, constant working value and holds it there as birds drink, as supply fluctuates, and along the length of the run. It is the cheapest component on the line and the one that most decides whether the line runs dry belts or wet ones.
What the regulator actually controls
The regulator does not set pressure at the tank; it sets pressure at the nipple, which is what matters. Inside, a diaphragm and spring throttle the incoming flow so that downstream pressure stays fixed regardless of how hard the supply is pushing. Most poultry lines run at 0.18 to 0.22 MPa, low enough that a bird's peck opens the valve for a measured drop, high enough that water reaches the far nipple. Set it too high and nipples weep onto the belt; too low and birds at the end of a long line cannot drink their fill.
Setting pressure by bird age
Pressure is not a set-and-forget value; it is stepped up as the flock grows. Rather than reading MPa off a dial, most operators set the regulator by water-column height, the height of water the pressure will support in a clear standpipe, because it maps directly to how easily a bird triggers the nipple. Aim for roughly 10 to 20 cm during brooding, when chicks are weak and need an easy drink, rising to about 20 to 30 cm in lay, when adult birds can pull a firmer valve. Raising the column in steps as birds age keeps flow matched to demand.
Water Pressure Regulation
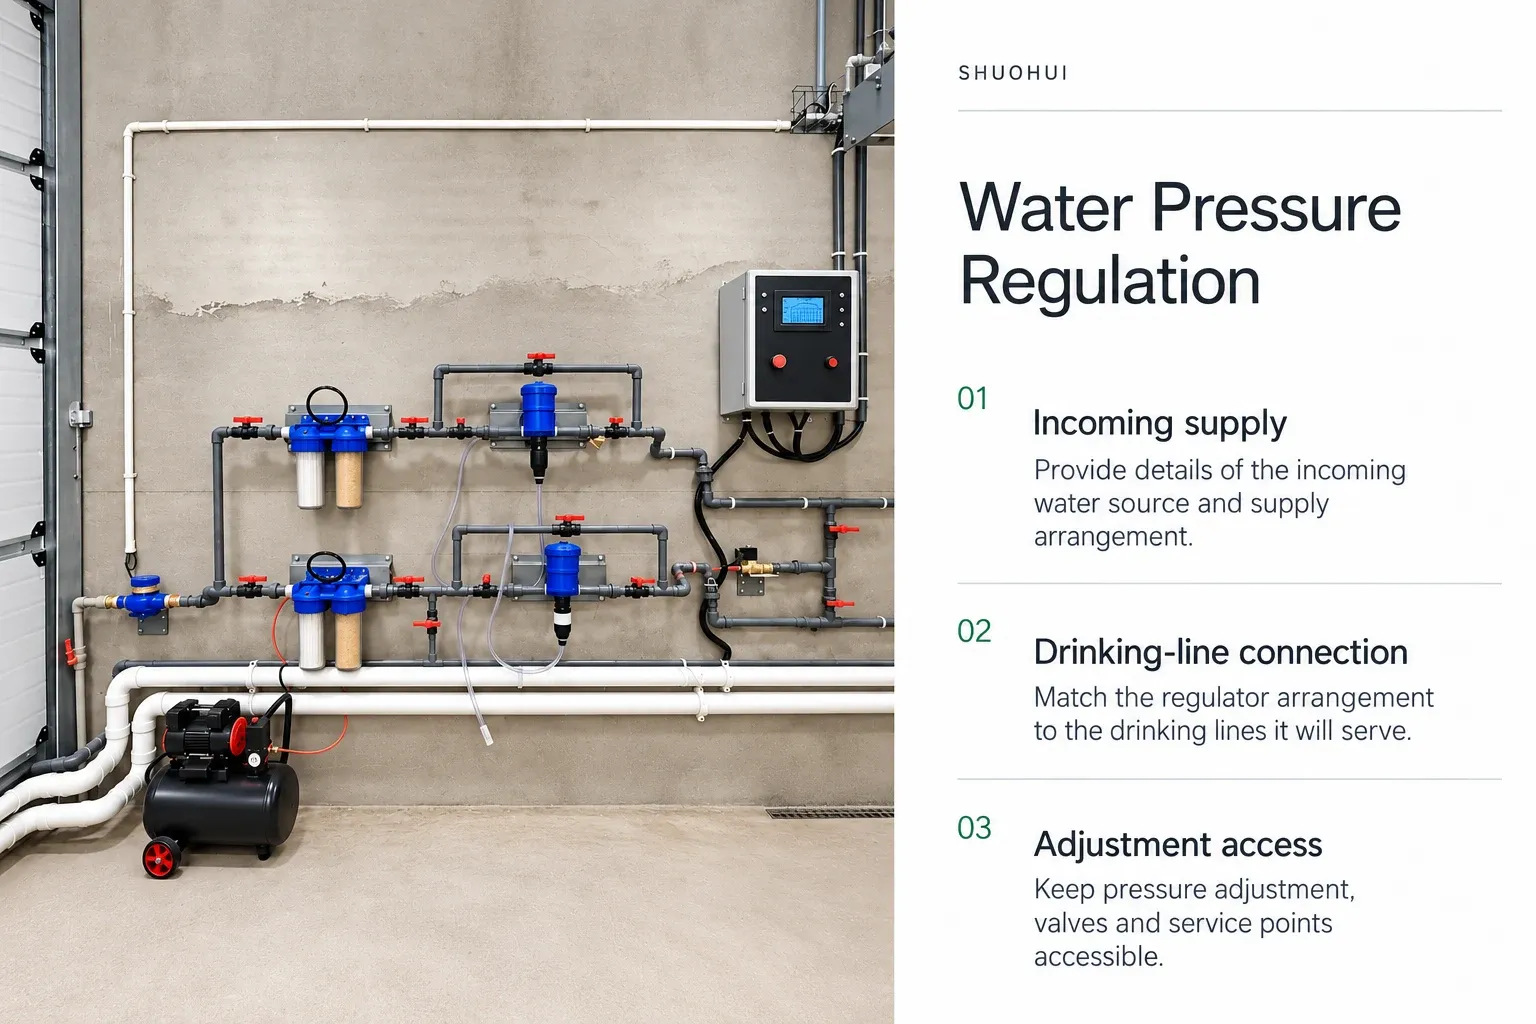
Read the selection checklist
Reading the gauge and the flush position
A good regulator wears its setting on its sleeve. A clear water-column tube on the unit shows the working pressure at a glance, so a walk-through tells you the line is set right without instruments. The other position that earns its keep is the flush mode: a lever or valve that opens the line fully, letting you push a high-velocity flush of water, and sanitizer, from head to end to strip biofilm and clear scale between flocks. That single flush position turns a fiddly strip-down into a routine chore.
Why line length changes your pressure
Water loses pressure as it travels, so a long line drinks unevenly if the regulator is set for the nipples nearest the head. The further a nipple sits from the regulator, the lower its effective pressure, which is why very long houses often split into sections or fit a second regulator partway down the run. When you size a regulator, think about the whole line, not the first metre: match it to the line length, the number of nipples it feeds, and the height difference along the house.
Where it sits in the drinking line
The regulator anchors the head of every nipple line, upstream of the nipples and drip cups, downstream of the header tank or supply, and it works hand in hand with the medicator and flush valve that share that head assembly. Choose a food-grade, corrosion-free body that will not scale, and size it to your line rather than buying a single generic unit for every house. If you are laying out or upgrading a nipple system, we supply matched regulators with the drinker lines and can specify the right unit for your line length and bird stage, get in touch with your house details.
Equipment views & details
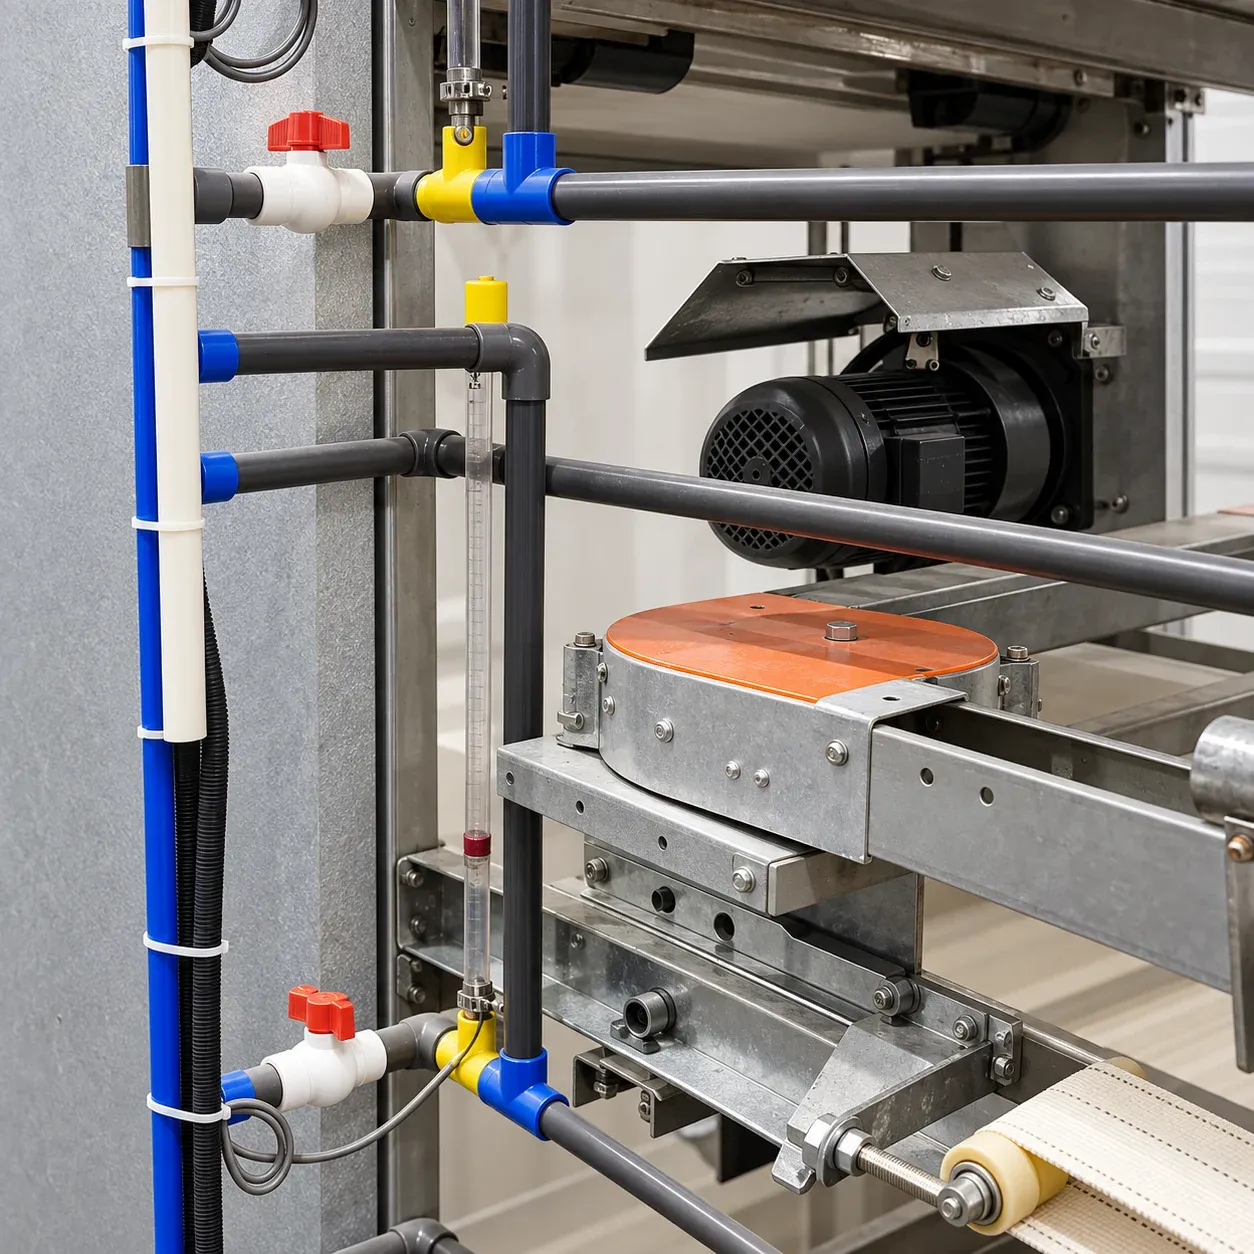
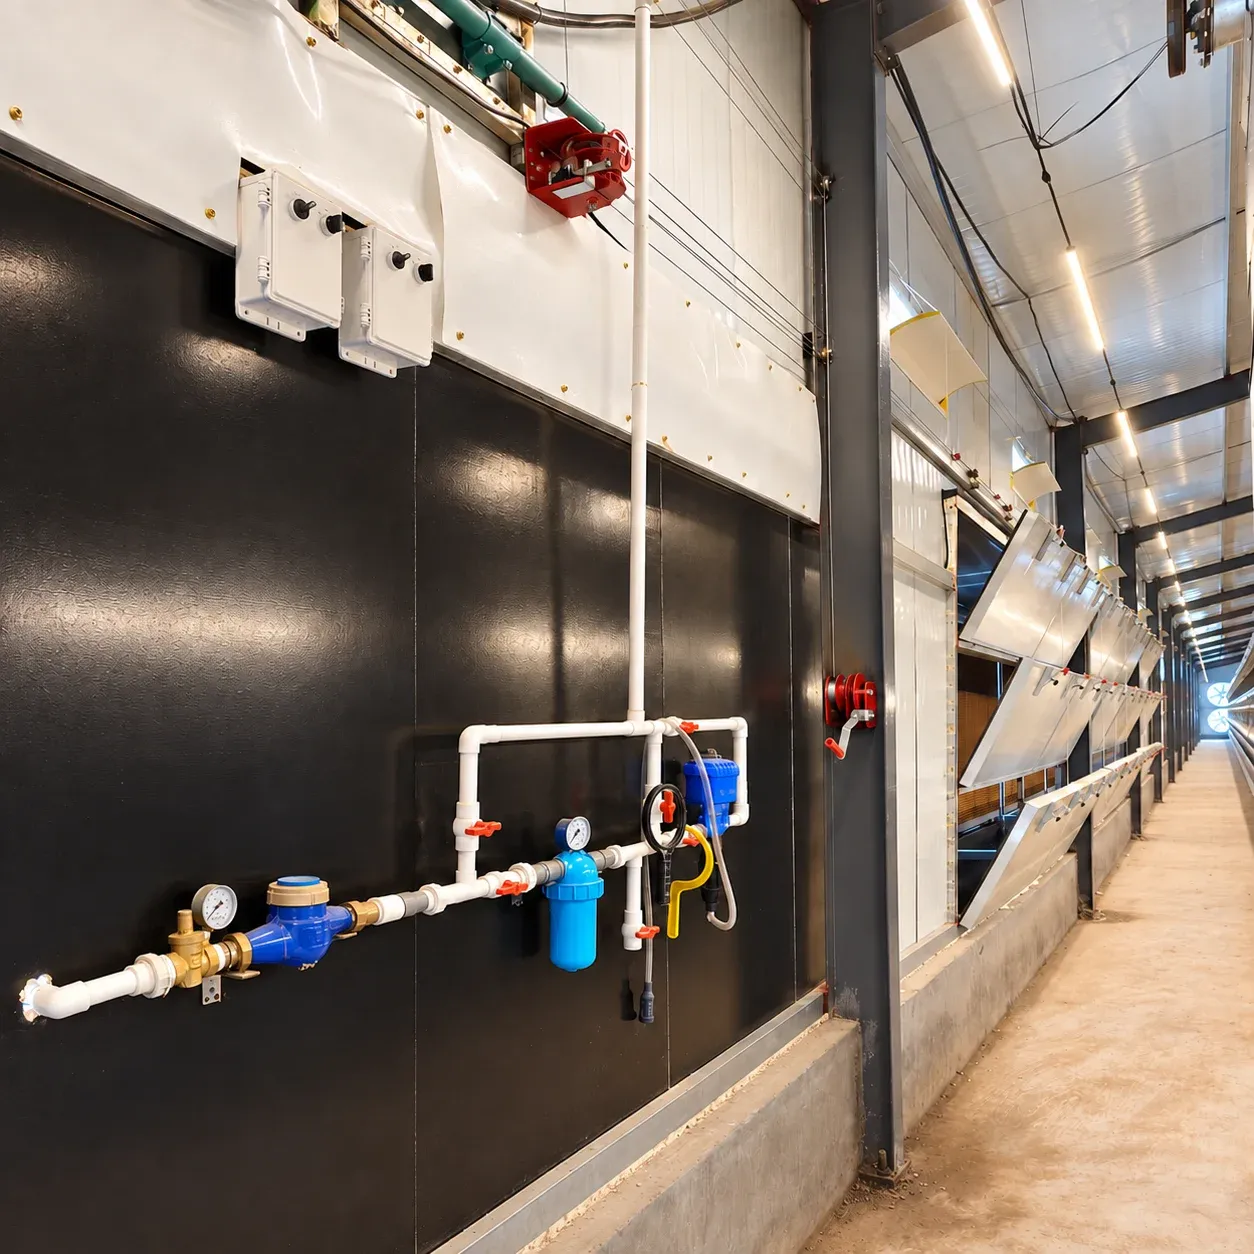
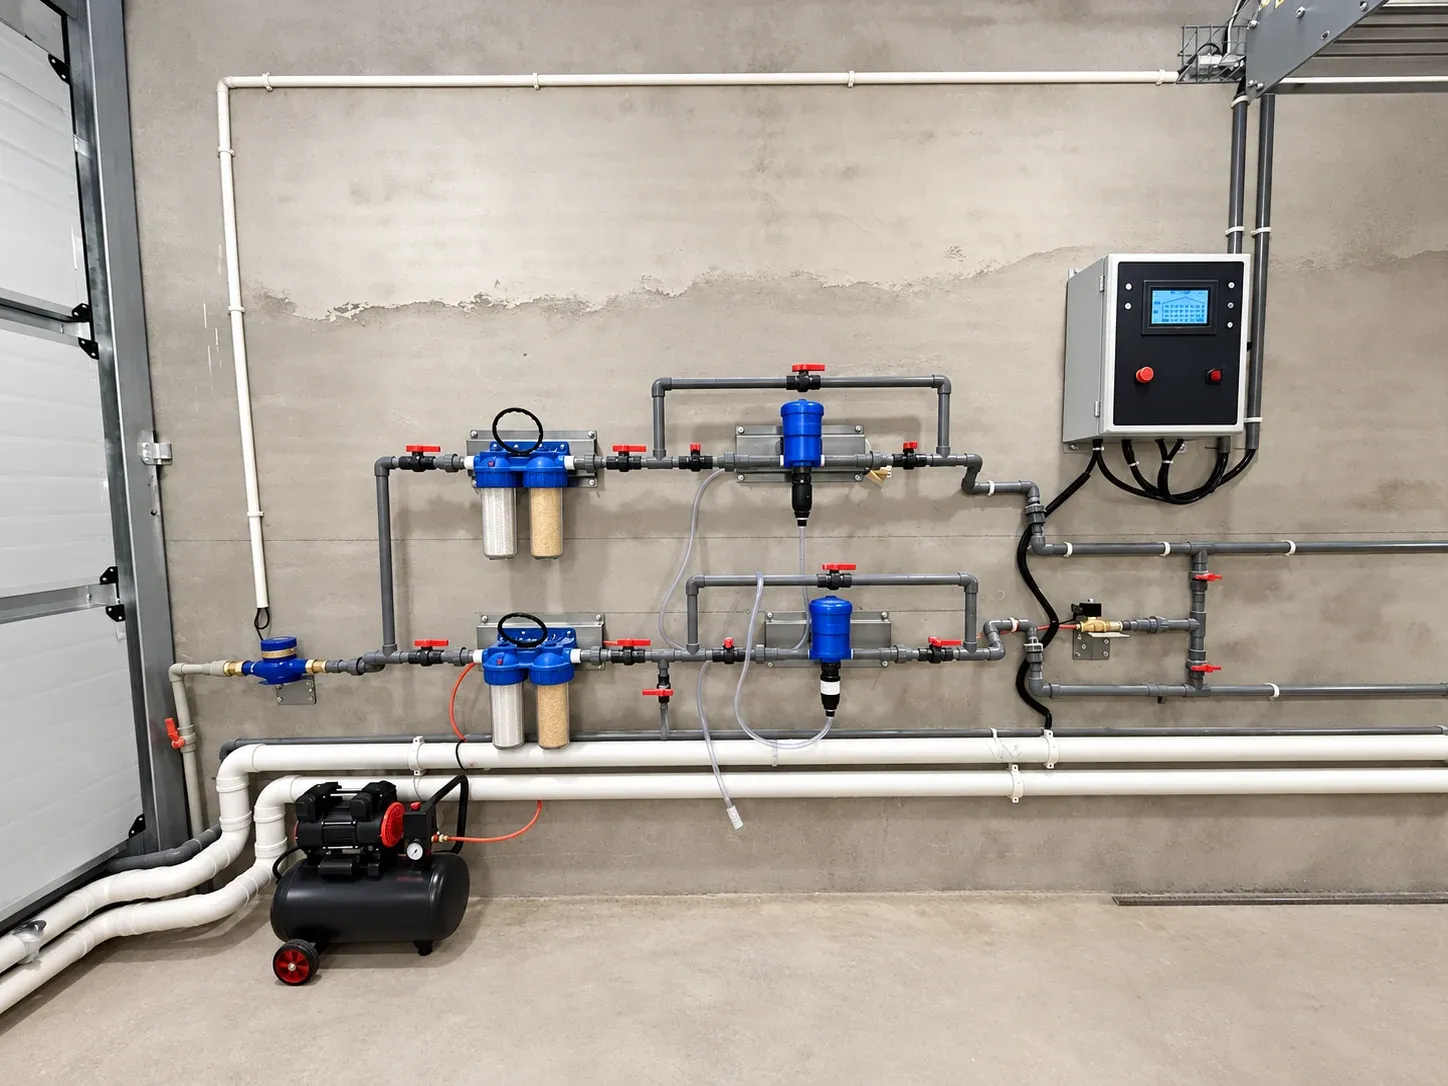
The pipework, valves and filtration components are shown in their installed arrangement. This provides water-line context for discussing pressure control and maintenance access.
ORDER & DELIVERY
Shipping process
- 01
Requirements
Share your bird type, planned capacity, destination and project needs.
- 02
Configuration and order
Confirm the equipment list, drawings, quotation and agreed order terms.
- 03
Production and inspection
Prepare and inspect the equipment against the confirmed configuration.
- 04
Packing and loading
Check the packing list and coordinate protective packing and loading arrangements.
- 05
Transport and dispatch
Arrange shipment and the required documents according to the agreed delivery terms.
- 06
Arrival and handover
Check the delivered packages and equipment, and coordinate the next installation steps.