Automatic Nipple Drinking System
Specifications
- TypeCone-valve nipple drinker line
- ExtrasPressure regulator, drip cup, end-line flush
- MaterialFood-grade pipe, stainless nipple
- Water pipeSquare tube, 3 mm wall
- CertificationISO 9001, SONCAP, PVOC
- Flow at day 1About 40 ml/min
- Flow rate rule(Week of age x 7) + 20 ml/min
- Nipple spacing25 to 30 cm
- Birds per nipple9 to 12
- Working pressure0.18 to 0.22 MPa
- Flow at 29-35 daysAbout 90 ml/min
- Water column, laying20 to 30 cm
- Water column, brooding10 to 20 cm
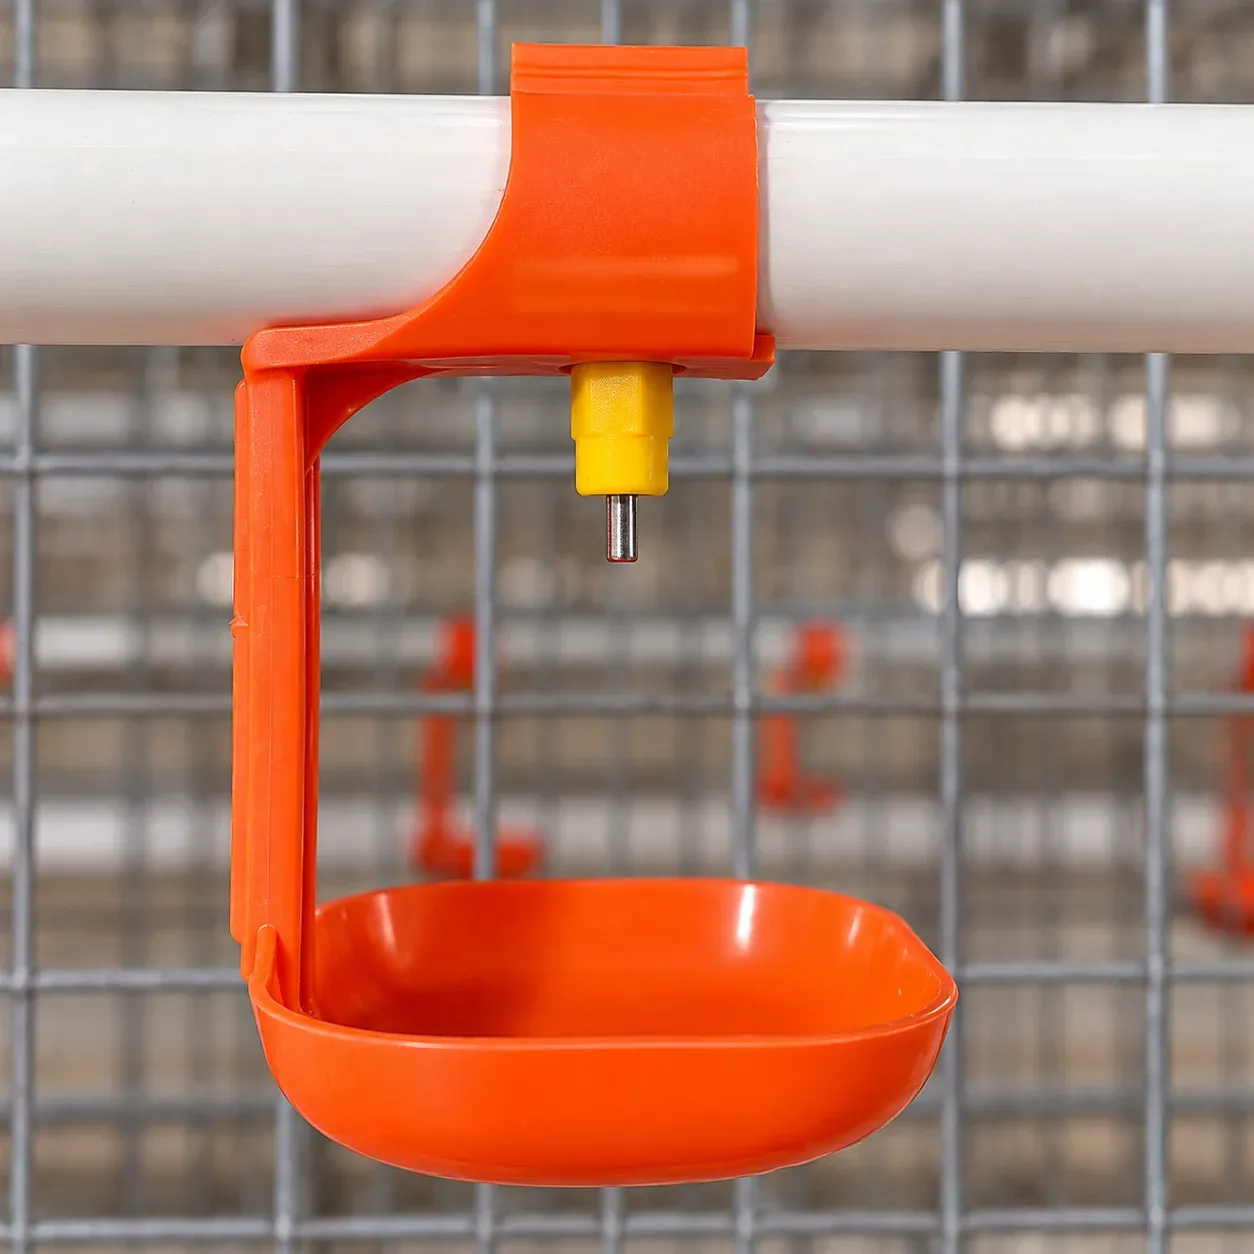
A nipple drinking line delivers clean water on demand: each bird pecks a stainless trigger pin, a cone valve opens, and a measured drop is released, then the valve reseals. Because the water stays enclosed in the pipe until the bird calls for it, a nipple line stays cleaner than any open drinker and wastes almost nothing when it is set up correctly. The whole system is a chain of small decisions, flow rate, pressure, height, spacing and hygiene, and each one has a number behind it.
The cone valve and how it opens
At the heart of the line is the nipple itself: a food-grade body with a stainless steel trigger pin and a precision cone valve. When a bird moves the pin sideways or upward, the cone lifts off its seat and water passes; release the pin and it reseats under line pressure. A 360-degree activation pin lets birds drink from any angle, and a drip cup fitted below each nipple catches the occasional stray drop so litter and manure belts stay dry. The square 3 mm water pipe doubles as the rail the nipples thread into and as a rigid line that holds height along the run.
Sizing flow rate to bird age
Flow rate is the setting most often left wrong. Too little and birds cannot drink their fill in hot weather; too much and water splashes past the beak onto the belt. The working rule is flow (ml/min) = week of age x 7 + 20, which gives roughly 40 ml/min at day-old and about 90 ml/min by 29-35 days. Flow is set by pressure, so the line is tuned at the regulator rather than at each nipple, and it is raised in steps as the flock grows.
Nipple Drinking Details
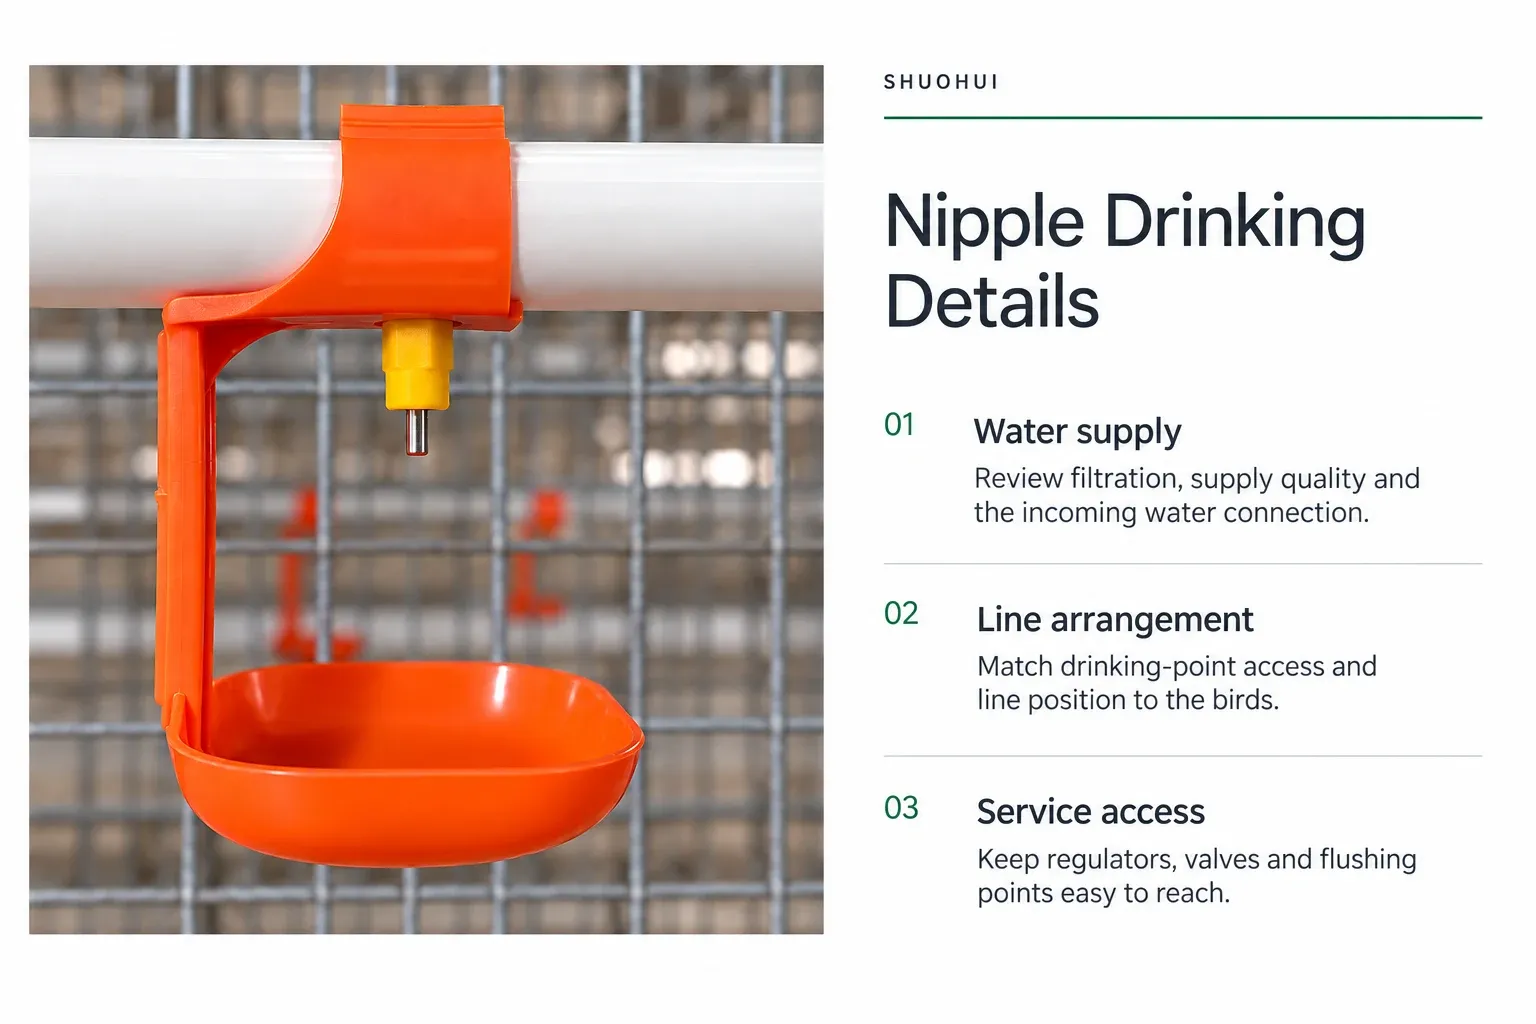
Read the selection checklist
Pressure, height and the anti-leak setup
Nipple lines run at a low, precise 0.18 to 0.22 MPa, held by a pressure regulator at the head of each line. Height matters as much as pressure: the nipple should sit so a bird reaches up slightly, with the trigger near eye level and the head tilted a little back, which puts water on the tongue and not on the floor. The water-column setting is stepped by age, roughly 10 to 20 cm during brooding and 20 to 30 cm in lay. Get pressure, height and column right together and a well-built line barely wets the belt.
Nipples per bird and line spacing
Coverage is a stocking calculation. Allow 9 to 12 birds per nipple and space nipples 25 to 30 cm apart along the pipe so no bird has to travel far or wait to drink. Under-provisioning shows up as jostling, uneven intake and a spread in body weight long before it shows up as thirst, so it pays to size generously and confirm the count against the birds per cage or per square metre in your house.
Keeping the line clean and clog-free
Water quality decides how long a nipple line stays trouble-free. Iron is the quiet enemy: keep it below 0.3 ppm, because 2 to 3 ppm will scale and clog the valves. Aim for water pH between 6.5 and 8.5 and hardness under 450 ppm. Between flocks, flush the line and sanitize it to strip biofilm, holding an end-of-line residual of about 3 to 5 ppm chlorine or an ORP of 650-700 mV; an end-line flush valve makes this a two-minute job rather than a strip-down.
Building a complete line
A finished drinking line is more than nipples: it is the regulator, the square pipe, the drip cups, the anti-roost or support wire, and the flush valve, all sized to your bird count and water source. Layer flocks drink roughly 230-300 ml per bird per day, rising to 400-500 ml in heat, so the head tank and supply must keep up on the hottest day, not the average one. If you would like a line specified to your cage rows and water chemistry, and paired with the right pressure regulator, send us your house dimensions and bird numbers and we will lay it out.
Equipment views & details
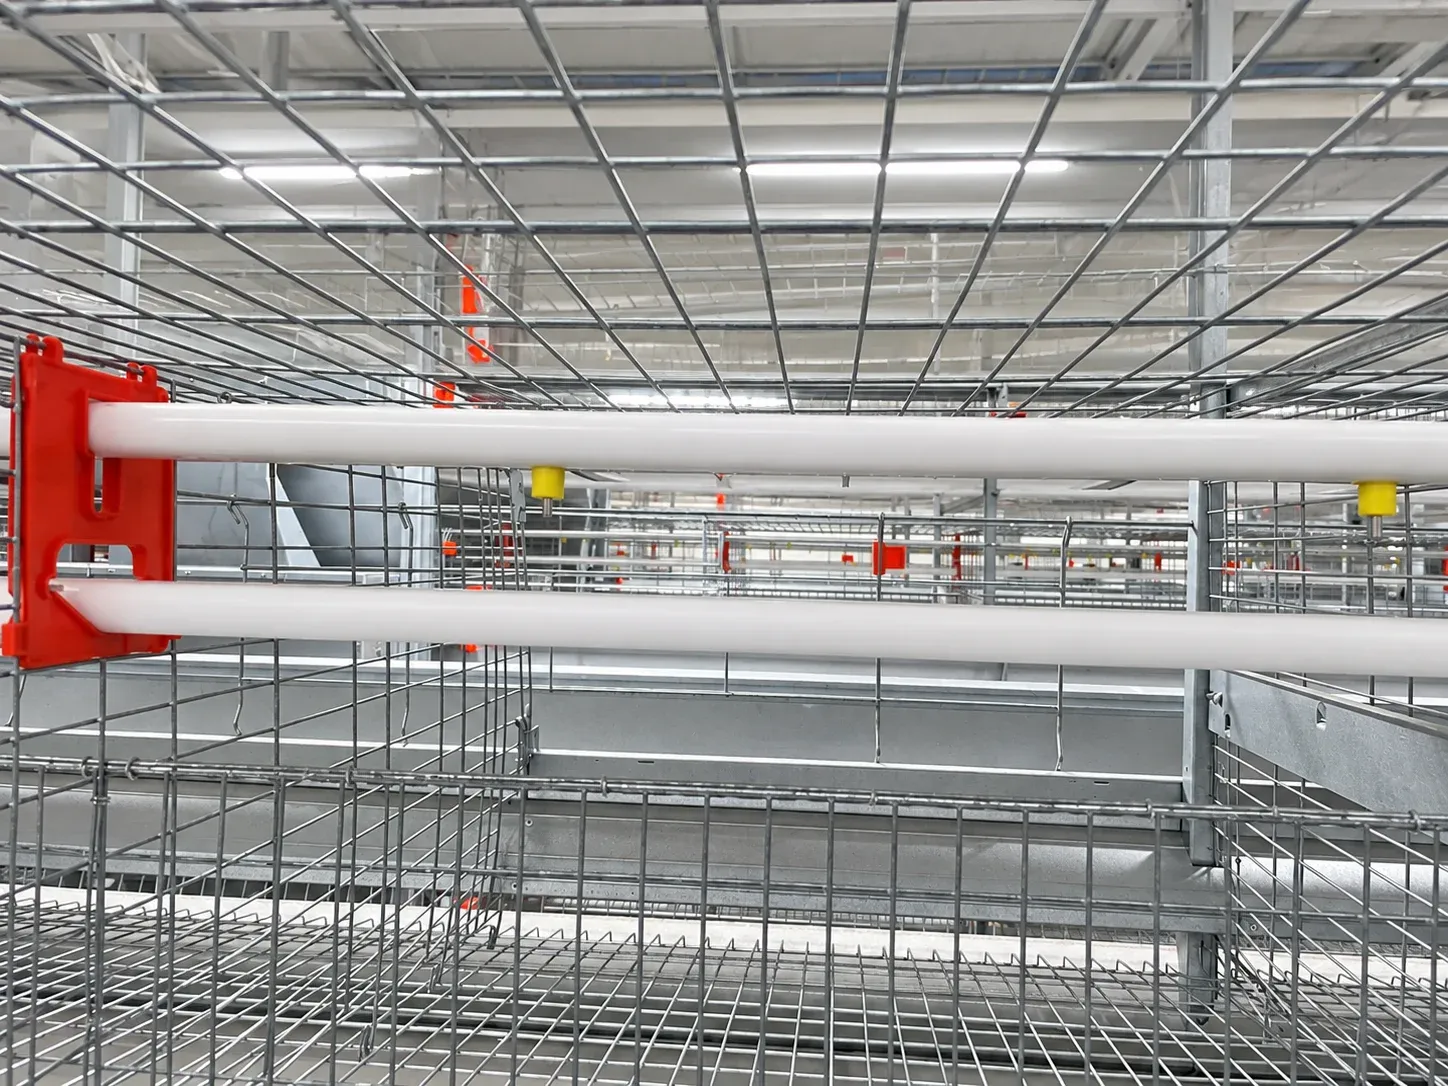
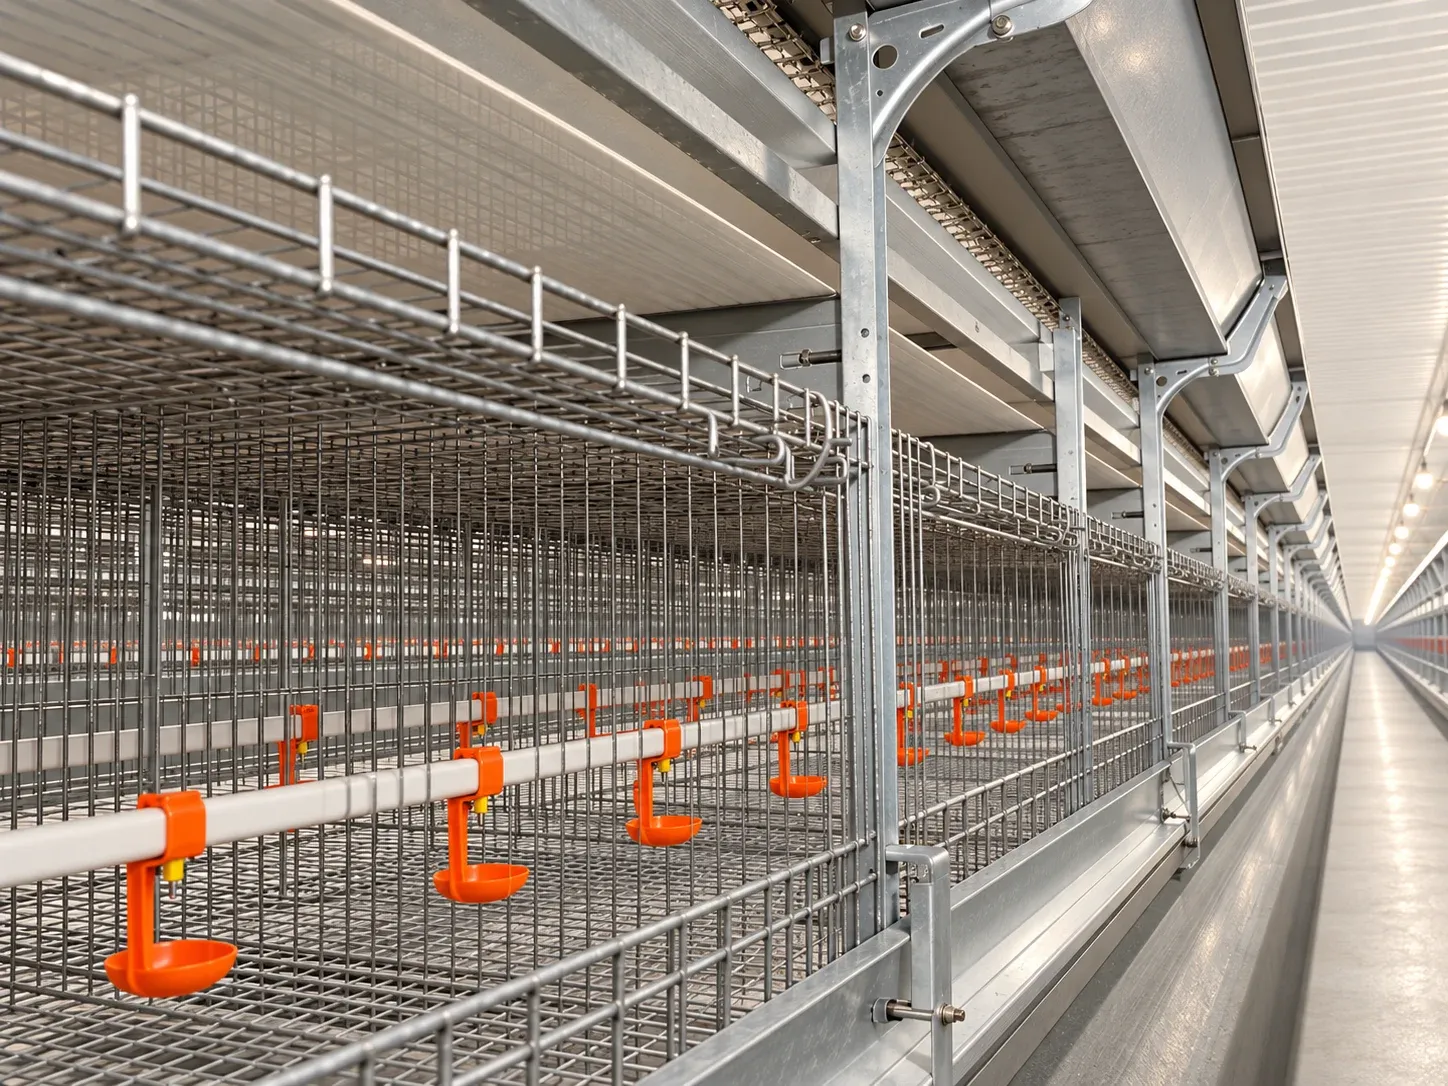
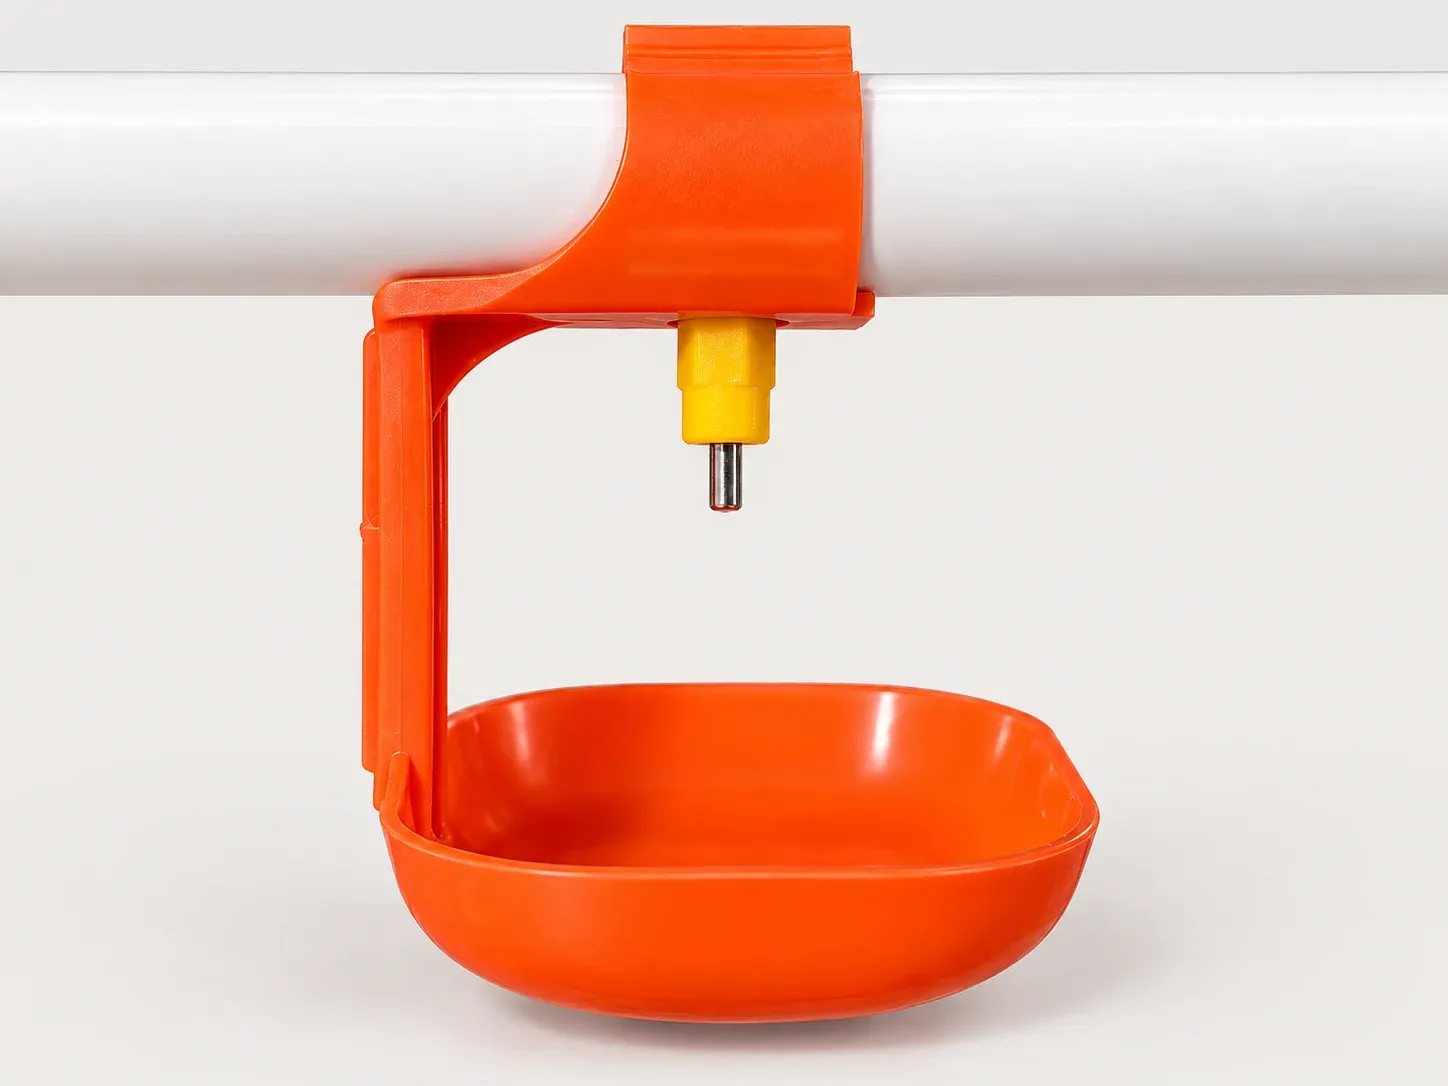
ORDER & DELIVERY
Shipping process
- 01
Requirements
Share your bird type, planned capacity, destination and project needs.
- 02
Configuration and order
Confirm the equipment list, drawings, quotation and agreed order terms.
- 03
Production and inspection
Prepare and inspect the equipment against the confirmed configuration.
- 04
Packing and loading
Check the packing list and coordinate protective packing and loading arrangements.
- 05
Transport and dispatch
Arrange shipment and the required documents according to the agreed delivery terms.
- 06
Arrival and handover
Check the delivered packages and equipment, and coordinate the next installation steps.