Automatic Pullet & Brooding Cage
Specifications
- UseDay-old chicks to 17-week pullets (brooding + rearing)
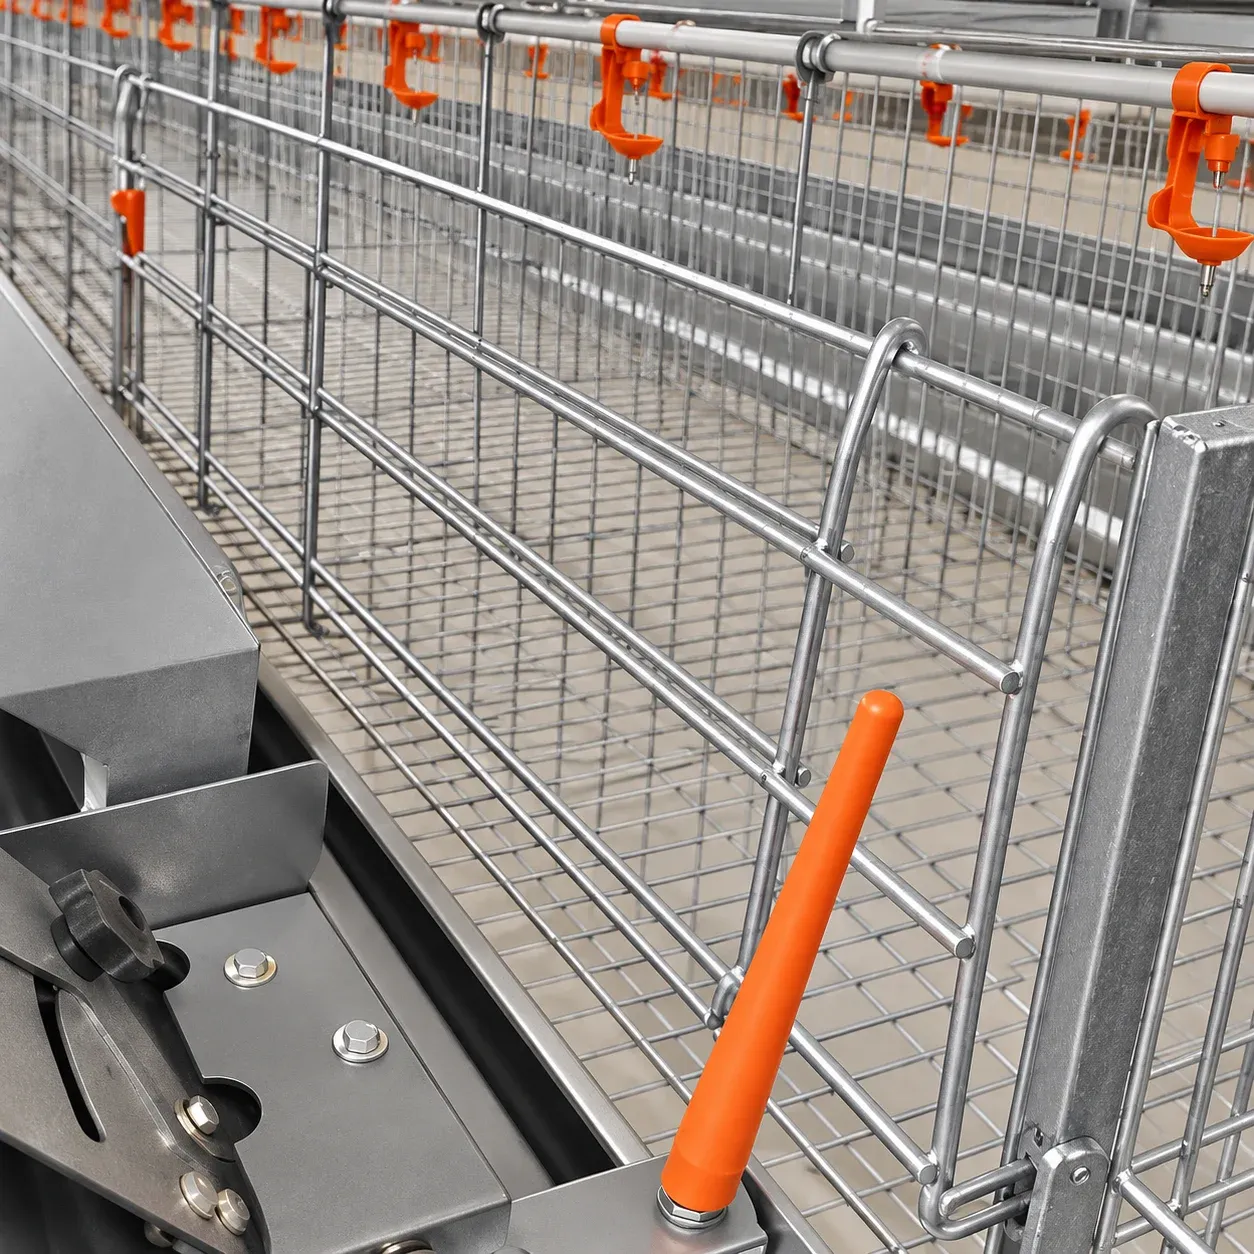
- MeshFine chick-safe floor and side mesh
- FeedingAutomatic travelling hopper, height-adjustable to chick level
- HeatingCompatible with whole-house or zone brooding heat
- DrinkingNipple line set at chick height, raised as birds grow
- MaterialHot-dip galvanized Q235 low-carbon steel
- StructureA-type or H-type, 3 to 4 tiers
- Service life15 to 20 years
- CertificationISO 9001, SONCAP, PVOC
- Manure removalBelt or scraper
- Brooding targetChick-level 33 to 35°C in week one
- Uniformity goalBody-weight CV under 10%, over 85% uniform
A pullet is only as good as the way she was reared, and the brooding cage is where that quality is set. Raising replacement layers from day-old to about 17 weeks in a controlled multi-tier cage — rather than on the floor — gives tighter body-weight uniformity, cleaner disease control, and a bird that steps into the laying house ready to peak. The cage geometry deliberately mirrors the layer cage she will graduate into.
Rearing pullets in the same cage geometry they'll lay in
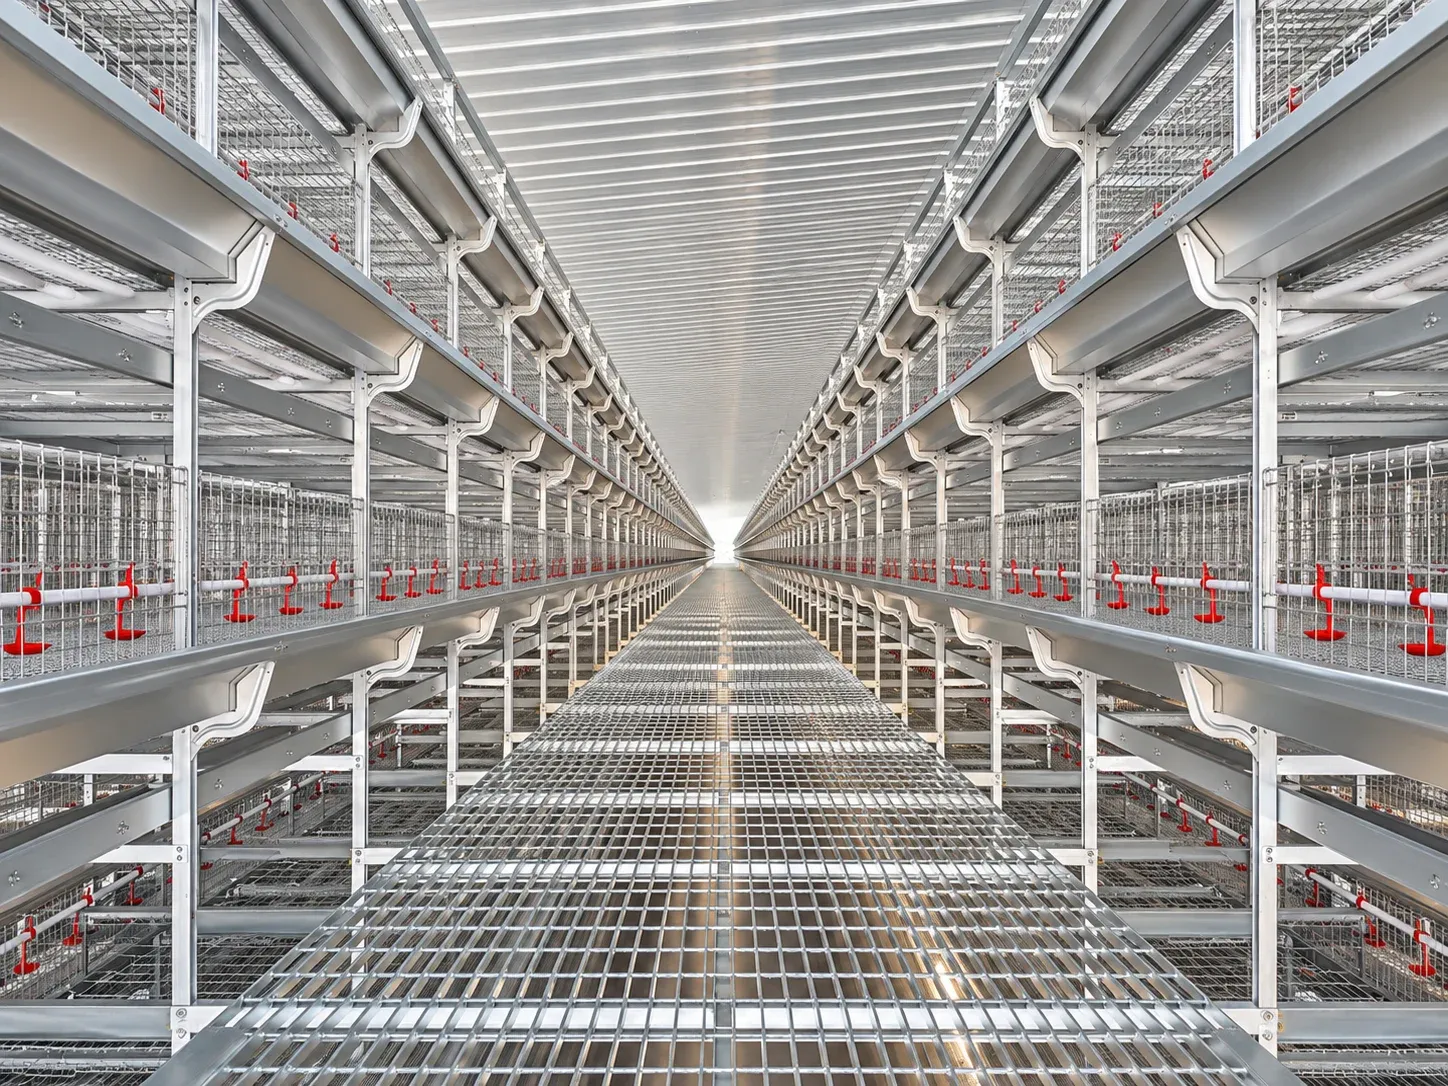
A brooding cage is built as a scaled rearing version of an A-type or H-type layer cage, and that is intentional. A pullet raised in a cage learns to find feed and water at cage fittings, so the move into a layer cage at point-of-lay causes little stress and no re-training. Rearing off the floor also breaks the litter-borne disease cycle — coccidiosis and worm burdens that floor-reared pullets carry — and lets you inspect and weigh birds tier by tier. Match the brooder cage type to your layer house: rear in A-type if you lay in A-type, H-type for H-type.
Chick-safe mesh and adjustable feed/water heights
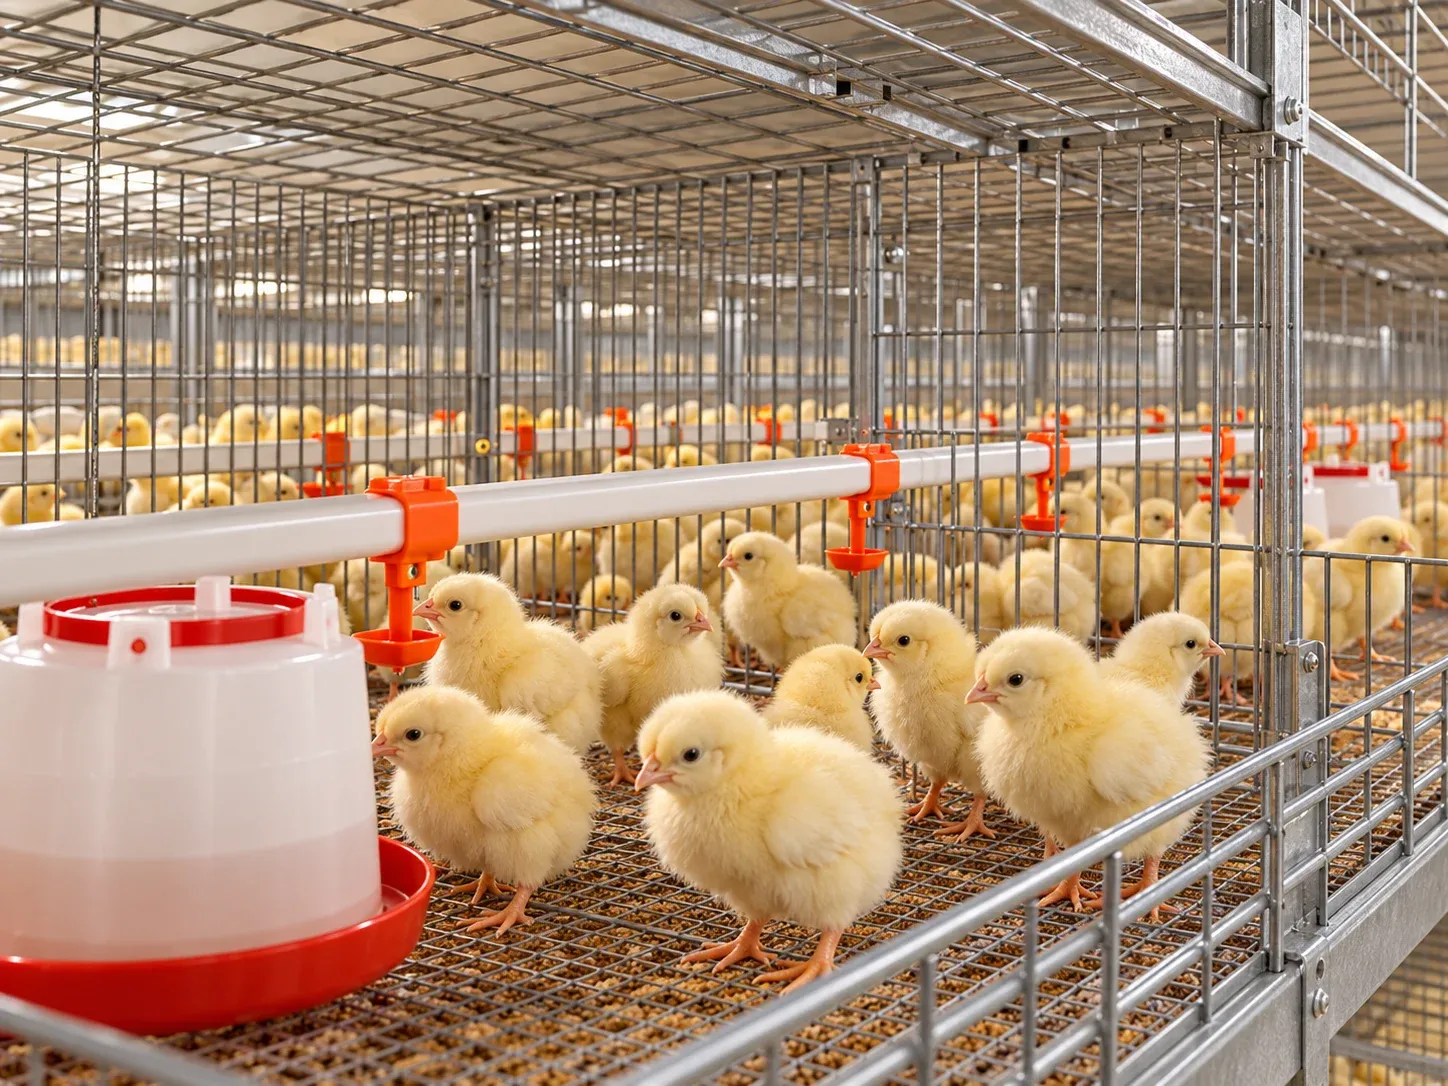
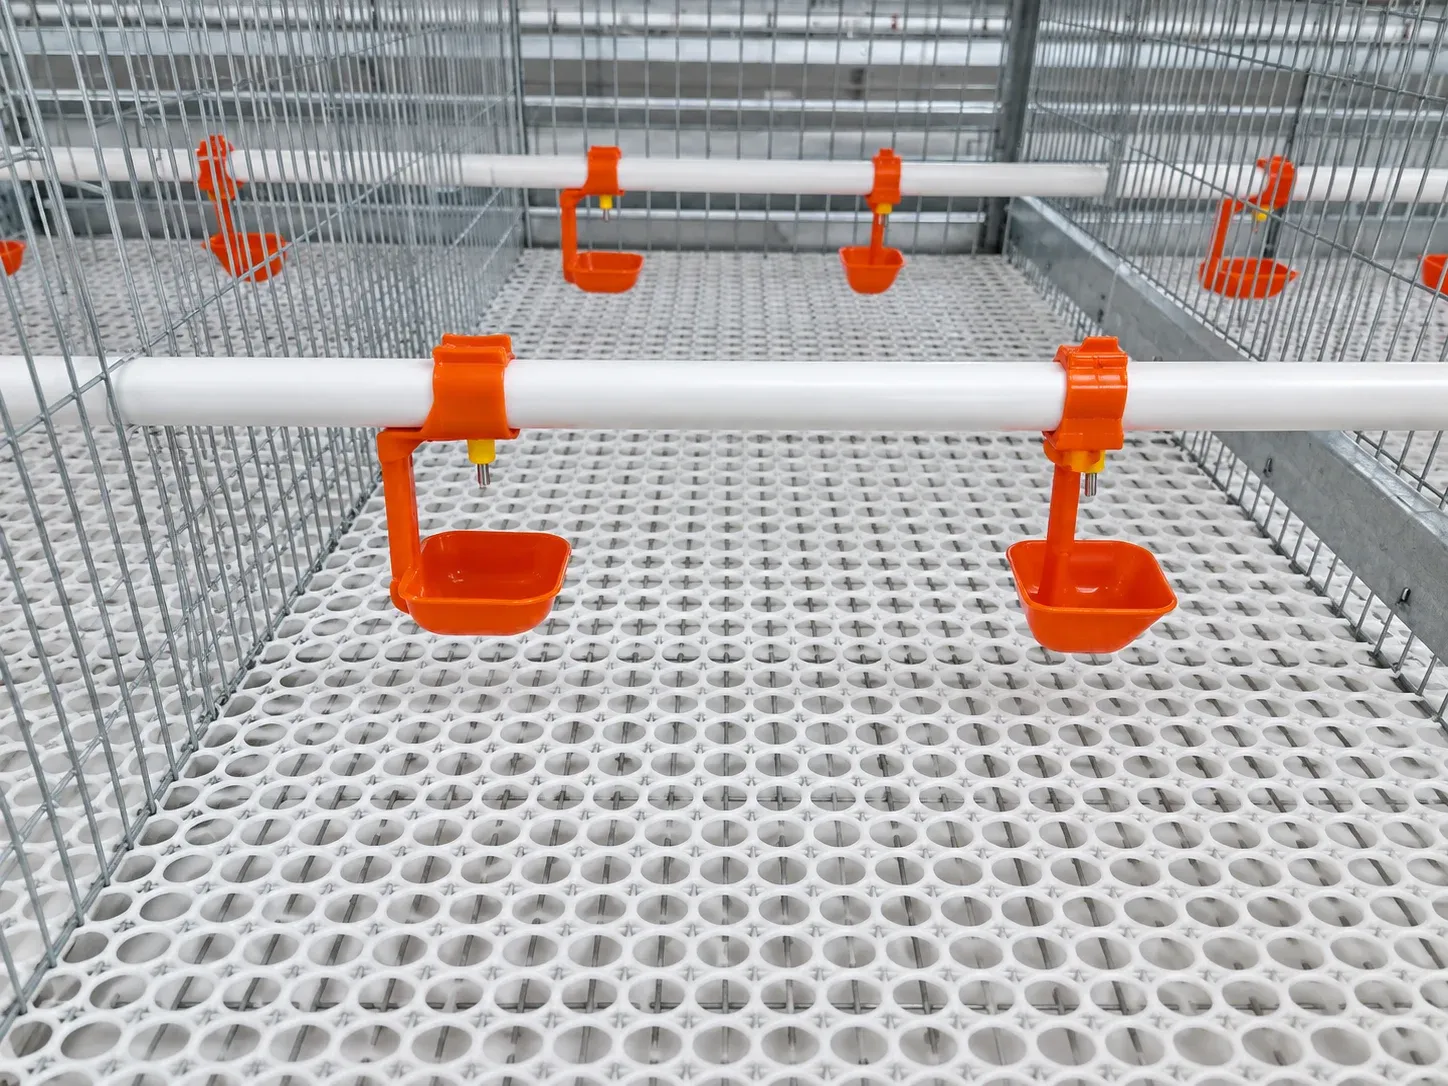
Day-old chicks need a floor they cannot fall through and fittings they can actually reach, so a proper brooding cage differs from a layer cage in two ways. The floor and side mesh is fine — small enough that tiny feet and heads stay safe in week one. And both the feeder and the nipple line are height-adjustable: they start low at chick level so a day-old can eat and drink, then rise as the birds grow through 17 weeks. If the fittings do not adjust, early intake suffers and uniformity is lost before it can be built.
Pullet and Brooding Cage Planning
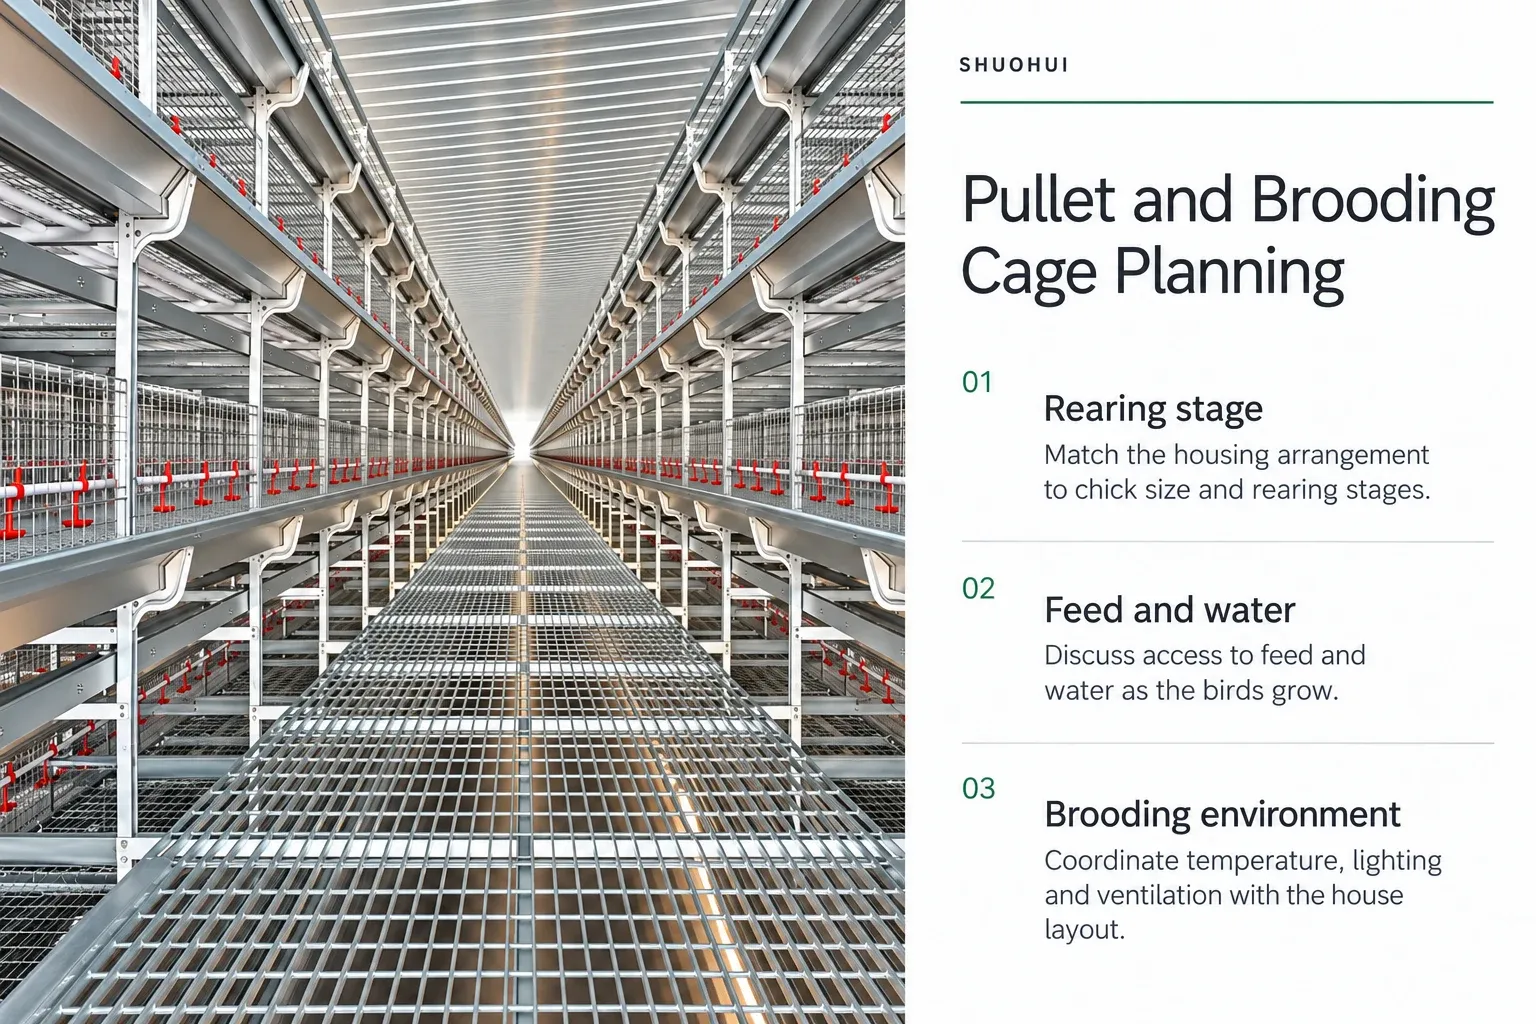
Read the selection checklist
Brooding heat and the first-week setup
The first week is thermal, not nutritional, and the cage must work with your heat source. Target 33 to 35°C at chick level in the first days, stepping down by roughly 3°C per week toward 18 to 21°C by six weeks. The cage integrates with whole-house or zone brooding heaters, and because tiers stack the warm air, controlled ventilation matters from day one to keep every level even. Get the first week right — full crops, active chicks — and the rest of rearing follows.
Uniformity: the number a pullet cage is judged on
The whole point of caged rearing is a uniform flock, because flock uniformity at 16 weeks correlates directly with a strong, sustained lay peak. The target is body-weight CV under 10% and over 85% uniformity. A cage helps you hit it: you can weigh sample birds per tier from about 4 weeks, and if CV drifts over 12% you regroup birds by weight into separate cages. A well-run brooding cage is the cheapest place on the whole farm to buy extra eggs later.
Rear-in-place vs move-to-layer transfer
There are two operating models. Move-to-layer: rear pullets in a dedicated brooding house, then transfer them into the layer house at point-of-lay around 17 to 18 weeks — this frees the layer cages for continuous production but adds a catch-and-move step. Rear-in-place systems raise birds in a cage that adjusts to serve both stages, avoiding the transfer stress but tying up laying capacity during rearing. Choose based on whether your priority is layer-house throughput or minimising handling — both are valid, and the cage spec differs slightly for each.
A-type vs H-type brooder cages
As with layers, A-type brooder cages are lower, cheaper and simpler, suited to smaller replacement flocks and lower buildings. H-type stacks more chicks per square metre and comes automated — the right choice when you rear large batches to feed a big layer operation and want one worker to manage tens of thousands of birds. The rearing principles are identical; the decision is density versus capital cost, just as it is on the laying side.
Sizing brooding capacity to your layer house
Plan brooding capacity backward from the layer house it feeds. You need enough pullet spaces to fill each laying batch on schedule, plus overlap so a new group is always rearing while the current one lays. Factor in expected rearing mortality and a uniformity culling margin so the number of quality point-of-lay pullets — not just chicks placed — matches the layer cages waiting for them.
Send us your layer flock size and turnover plan, and we will size a brooding-and-rearing cage line — tier count, fittings and heating integration — to deliver uniform point-of-lay pullets on schedule.
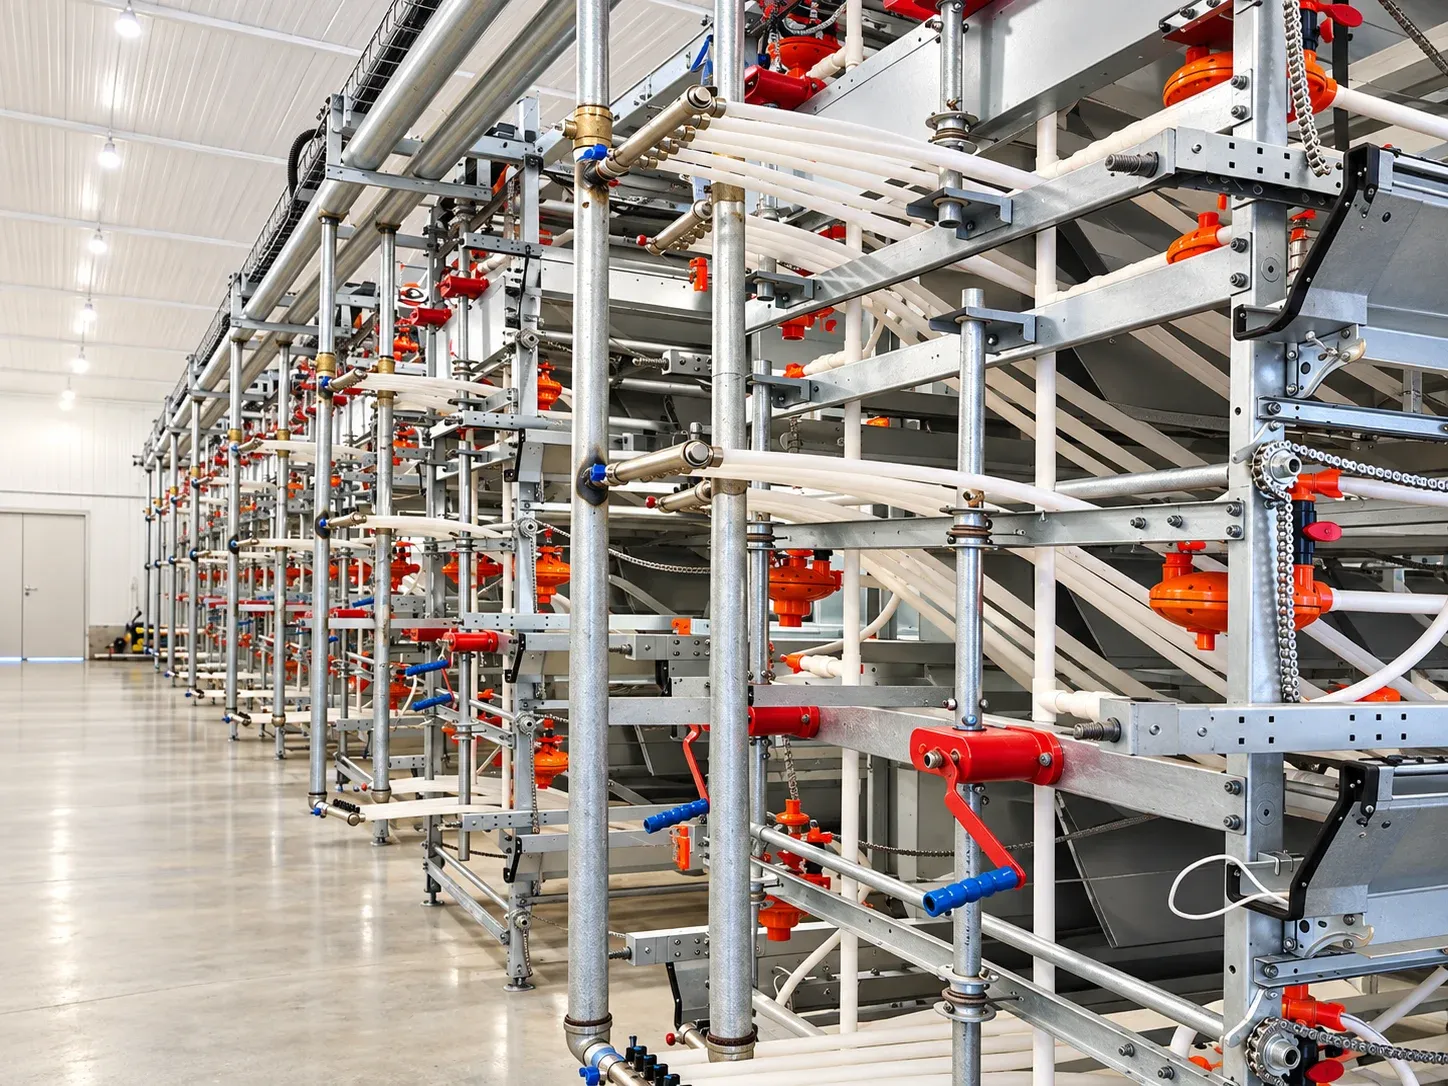
Equipment views & details
ORDER & DELIVERY
Shipping process
- 01
Requirements
Share your bird type, planned capacity, destination and project needs.
- 02
Configuration and order
Confirm the equipment list, drawings, quotation and agreed order terms.
- 03
Production and inspection
Prepare and inspect the equipment against the confirmed configuration.
- 04
Packing and loading
Check the packing list and coordinate protective packing and loading arrangements.
- 05
Transport and dispatch
Arrange shipment and the required documents according to the agreed delivery terms.
- 06
Arrival and handover
Check the delivered packages and equipment, and coordinate the next installation steps.